Adding textures and aromas to chocolate is where the magic is, in my opinion. I was never a big fan of plain chocolate and when I started making my own, I was all about creating the coolest textures I could dream up to add a new level of dope to my chocolate. We go into these in depth in my Raw Chocolatier online chocolate making course. But for now, you can follow this simple method for adding some nuts, freeze dried fruit powder, medicine flower flavour extract and essential oil to your chocolate. Generally I add these things post tempering – click here for that video. You’ll just need the dark or pure chocolate and white chocolate for these bars.
Marbled Chocolate with Textures & Aroma
Instructions
Adding Texture and Aroma
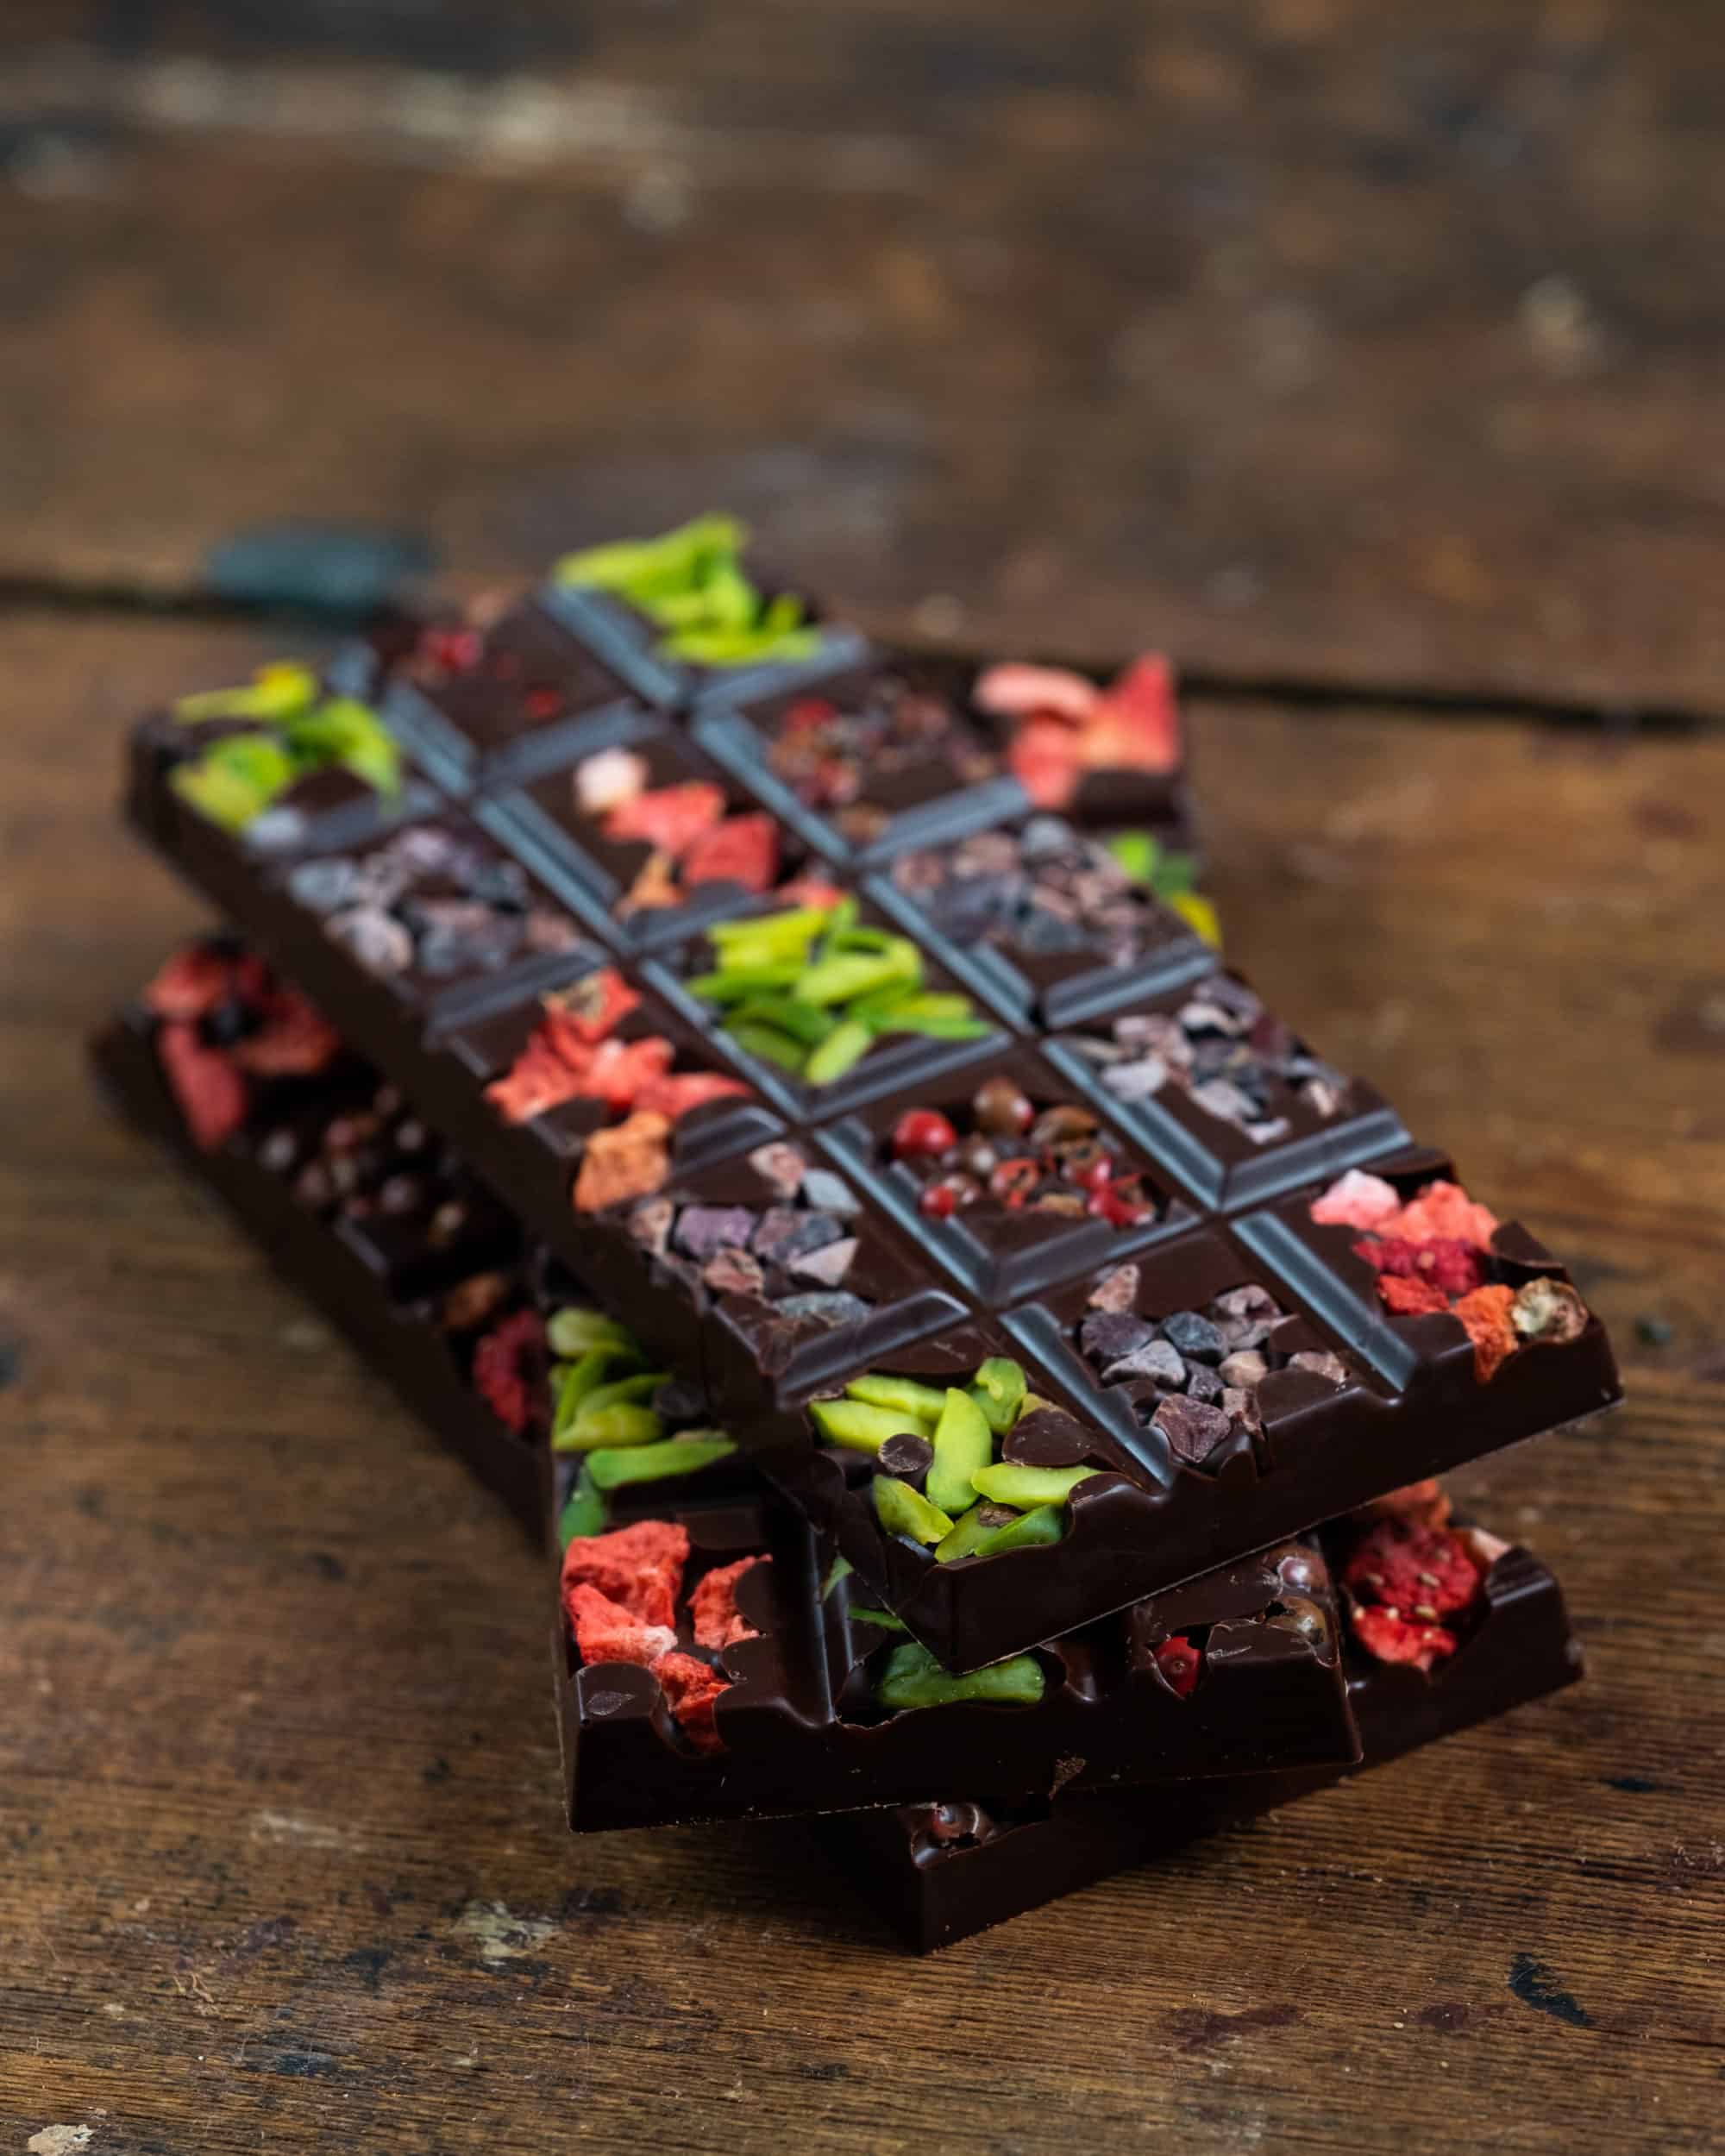
- Whenever I make textured chocolate I make sure it has at least one texture and, in some cases, there are two different textures; soft, chewy and/or crunchy and a scent, aroma or flavour that runs throughout the entire bar so you get a burst of flavour in each bite, even if you don’t get texture. When creating new flavour combinations, you want to consider the full experience for the person enjoying it; appearance (using colour, achieving shine, packaging), aroma/smell (essential oils, flavour extracts, fresh herbs), texture (crunchy, chewy, soft, smootand taste (sweet, dark, bitter, floral, so o– In most cases, chocolate you create for a child, for example, will be very different to the chocolate you create for an adult.
Using freeze dried fruit powders and pieces in your chocolate
- Freeze dried fruits will go soft when exposed to air, therefore it’s best to mix the fruit pieces or powder into the chocolate rather than sprinkle on the surface. The only exception is if the chocolate will be sealed air tight or eaten straight away.
- Freeze dried fruit pieces will float in a bowl of melted chocolate because they are so light. Therefore you will need to keep mixing the chocolate in order to evenly distribute the fruit into the chocolate pieces or bars you are making,
- An obvious note – always use as high quality freeze dried fruits as you can afford. If you can find organic, that’s always the best bet when it comes to fruits. Even better, if you can find a local company that freeze dries on the premises and uses local organic fruit, you’re laughing.
Using medicine flower extracts and essential oils in your chocolates
- Medicine flower extracts are an excellent way of adding real character and depth to your chocolate. As we discussed earlier, raw chocolate does not have the same flavour notes as cooked chocolate therefore, it’s our job to create that taste journey within our chocolate for our customers, friends and family to enjoy.
- Essential oils are easy to find, inexpensive and there are many flavours to choose from and be inspired by. Often people ask if they are safe to use for internal consumption. All I can say is that I have used them for years and never had a problem with them. You use such a small amount per batch of chocolate that I can’t see why it would cause upset. However, it’s your responsibility to make that decision and to inform your customers of the ingredients being used in your bars. Always choose organic essential oil and investigate any issues that could arise from digesting them prior to using them.
Using buckwheat in your chocolate
- Buckwheat makes a good base for transporting flavour and crunch to your chocolate without adding much flavour of its own. However, you want to soak and very slightly sprout the buckwheat so there is only the tiniest tail formed. If you sprout it too much, it will become bitter and starchy. We are not using buckwheat for its health properties, but rather for it’s neutral, crunchy properties.
- Use a light sugar, such as xylitol, erythritol or raw cane sugar for flavours like lemon, orange or mint as the lightness of the “sugar” allows the key flavour to shine through.
- Use darker sugars, such as coconut sugar, maple sugar and rapadura for flavours like cinnamon, clove, ginger, carob and so on, the darkness of this “sugar” enhances the spices in this case and they work beautifully together.
- Once your buckwheat crispies (recipes to folloare ready and cooled, store in an airtight container, preferably a glass jar, for months.
- The buckwheat, once mixed into chocolate, will remain crispy because the chocolate creates an air barrier and preserves it. Don’t lay the buckwheat on the surface of the chocolate or it will go soft as it’s exposed to the air.
Using nuts in chocolate
- It’s best to use nuts which have been soaked, rinsed and dehydrated when adding them to chocolate. Again, we are not doing this for the health properties, but rather because when you process them in this way, they become lighter, more crisp and much more enjoyable to eat; they take on an almost roasted texture.
- When pouring chocolate containing nuts into the mould, use a spoon to scoop out even amount of nuts per mould. Nuts will sink to the bottom of the bowl.
- As mentioned above, it’s best to cover the nuts completely in chocolate to avoid air getting to them and making them soft. If you are using air tight packaging when sealing your chocolates, then you should be fine. However, if they will be sitting on a platter, exposed to the air you might consider mixing in the bulk of the nuts and just scattering a couple on top for presentation.
Decorating your chocolates using white and dark chocolate
Splatter Effect:
- For this effect you will need to be working with chocolate at a low temperature, 28°c – 29°c so that it’s thick enough that when it hits the mould it won’t spread. Have your moulds ready and next to your bowl of chocolate. Dip a utensil of your choice into the chocolate and, while bringing the utensil up above the bowl, turn it vertically and allow ¼ of the chocolate drip off into the bowl then wiggle it quickly 4 – 6 inches above your chocolate mould creating a splatter effect. By allowing the first ¼ of the chocolate drip off into the bowl you are allowing it to come into a steady stream before placing it over the mould. Before starting on moulds you can first test this method by drizzling onto greaseproof paper or a teflex sheet just to get the hang of it. Once this chocolate has gone matte, at room temperature, you can then fill it up with dark chocolate and set it in the fridge for about 10-15 minutes.
Brushed Effect:
- For this effect you will need to be working with chocolate at a low temperature, 25°c– 27°c so that it’s thick enough that when it hits the mould it won’t spread. Using a pastry brush dip into the white chocolate and then paint the mould as you wish. Once this chocolate has gone matte, at room temperature, you can then fill it up with dark chocolate and set it in the fridge for about 10-15 minutes.
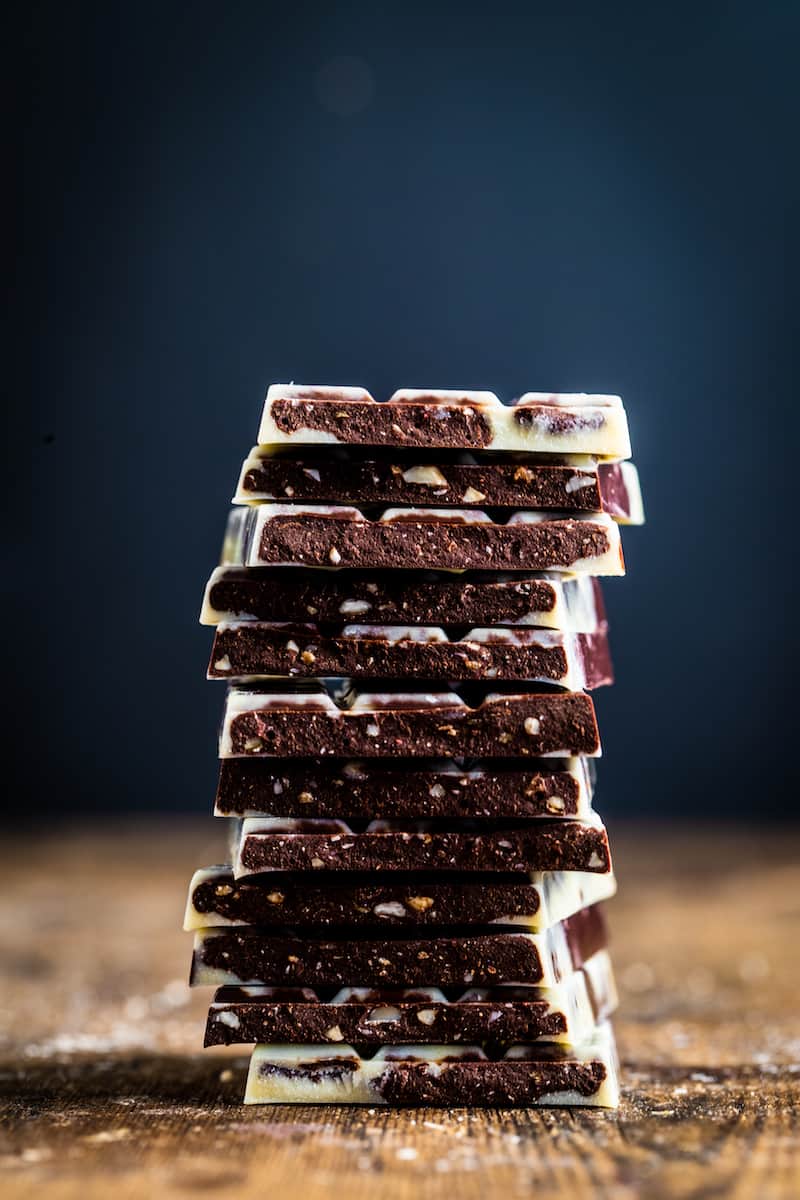
Marbled Effect:
- For this effect the chocolate will need to be 29°c– 31°c so they’re fluid enough to mix with each other. Fill ¼ of the mould with dark or white chocolate then, from a height of about 6 inches, pour the next coloured chocolate into the mould. Once all cavities are filled place in the fridge for 20 minutes or until set.
Video

FREE Videos: Start watching and learning today
Are you a visual learner? Yeah, me too. If I can’t be there in person, I love a video. This FREE mini series covers everything you need to know in order to start making professional quality chocolate at home with ease.
Want to know when a new recipe is posted?
You’re busy. I know this. You can’t keep checking my site for new recipes. Sign up for my newsletter and I’ll send you a new recipe every week. Boom!