If you’ve been following my recipes for a while, you’ve likely noticed my obsessions with star anise, liquorice and fennel in my desserts and more specifically, in my chocolates.
These three ingredients aren’t actually related. They come from completely different plants, but have a common chemical compound that makes them taste very similar. A little food geek side note.
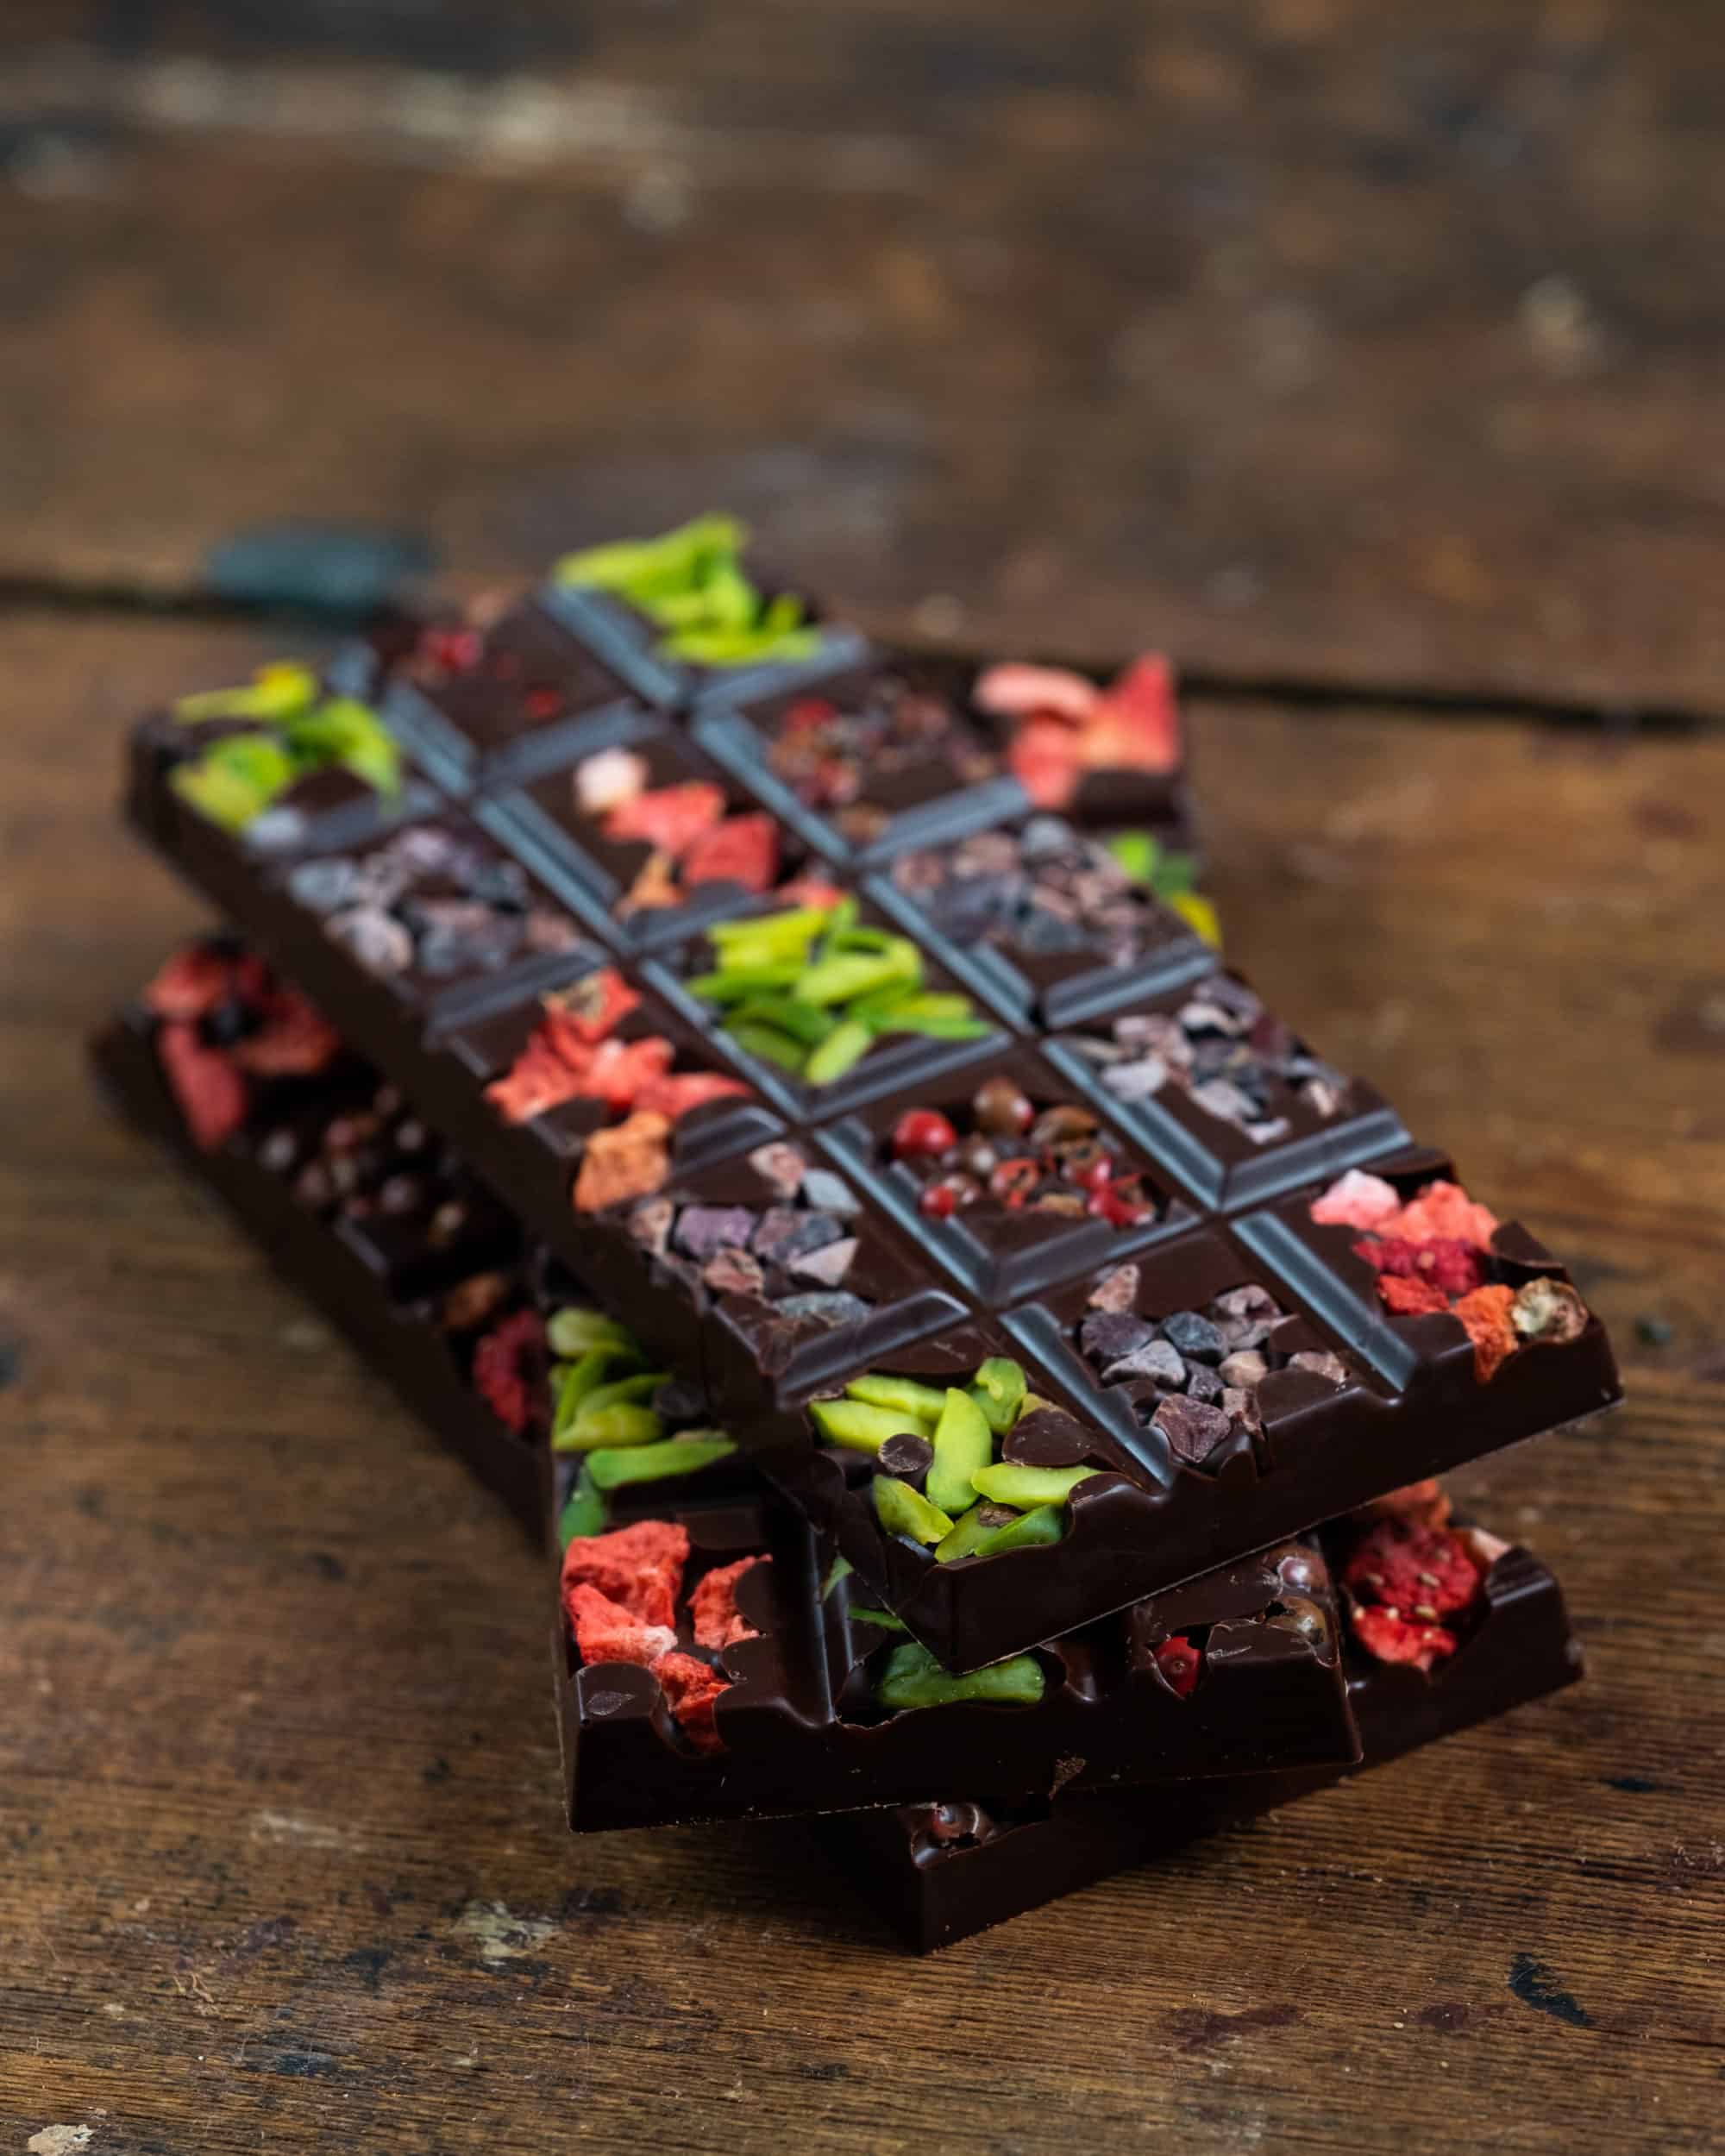
When I mention adding star anise essential oil into a chocolate bar, people are surprised and almost in disbelief. But when they taste the combination, they are floored. Add berries to the mix and it elevates it tenfold.
I’ve been a chef for 20 years, and I still find it incredible that the addition of acid (berries in this recipe) can shift the dynamic in flavours and create a completely different experience. The result is warmth, comfort, brightness, freshness—an uplifting experience.
I always talk about how food evokes memories and emotions. You’ll find this combination “hits the spot” with people from Scandinavia, where liquorice is widely combined with sweets and chocolate.
Liquorice, fennel and star anise can be used as essential oil, decoction and/or powder. In this recipe, I use the essential oil of star anise, but if you can only find liquorice powder or fennel seeds, for instance, you can use the powder or grind fennel seeds into a fine powder. If you are substituting, apply the general cooking rule—”you can always add, you can’t take away.” Just add a little and taste until you’re pleased.
Note: I don’t suggest buying liquorice root and attempting to grind it into a powder yourself, as the root is very tough.
Recipe Notes
- I use slow-dried fruit or freeze-dried fruit in this cake base because they’re crunchy and bright, whereas dried fruits are chewy and dark. If you cannot find the freeze dried or slow dried (I’ve added links in the recipe), then you can omit and simply serve the cake with a berry jam to get that flavour combo spot on.
- Here’s a link to a
- on my site, but you can replace the blueberries with raspberries and apply the same method to making it.
- Cakes like this are complex characters. If you want to simplify it for yourself, you can skip enrobing the cake balls as a garnish or omit that step altogether and it’ll still be a beautiful cake.
- The most important thing is to have fun and share with your loved ones.
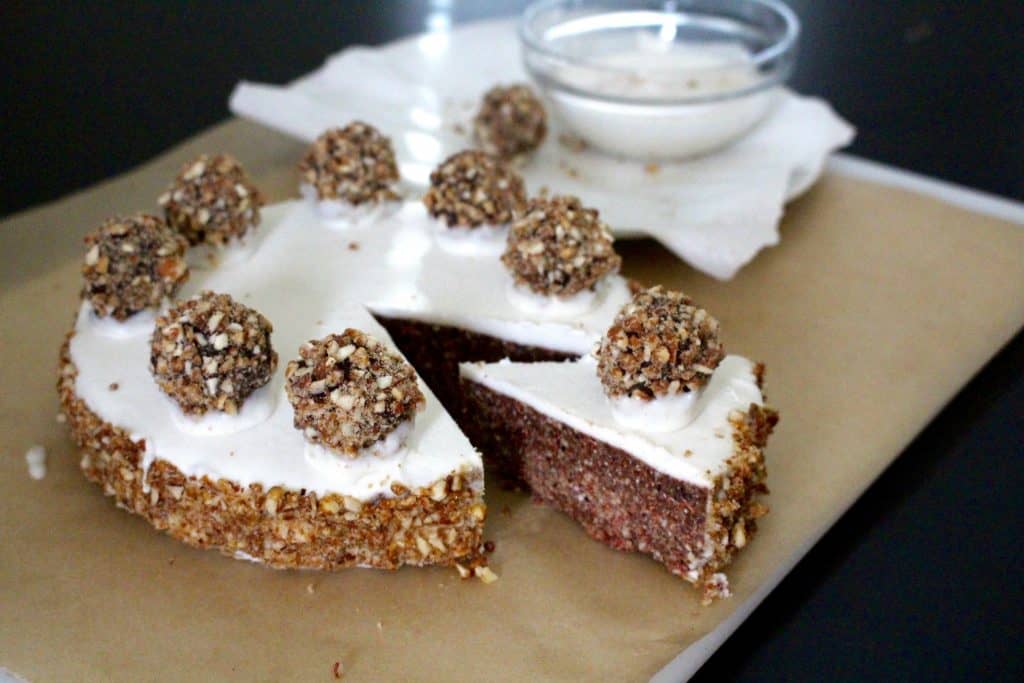
Raspberry Almond Star Anise Cake
400g (3 cups) activated almonds
200g (1 ½ cups) oat flour (rolled oats ground into flour in Vitamix or coffee grinder )
50g (⅓ cup) lucuma
30g (¼ cup) coconut flour
150g (1 ½ cup) coconut sugar, powdered in Vitamix or coffee grinder
100g (2 cups) slow dried raspberries or powder (Tree Harvest has the slow-dried berries and Healthy Supplies has the freeze-dried raspberries)
3g (1 ½ tsp) vanilla powder
100g (⅓ cup) maple syrup
10 drops star anise essential oil80g (½ cup) coconut oil, melted or soft
100g (½ cup) water or as needed to bring the cake togetherMethod
- To “activate” the almonds, simply soaked 8 hours, rinse and dehydrate them till crunchy — about 15 hours or until done.
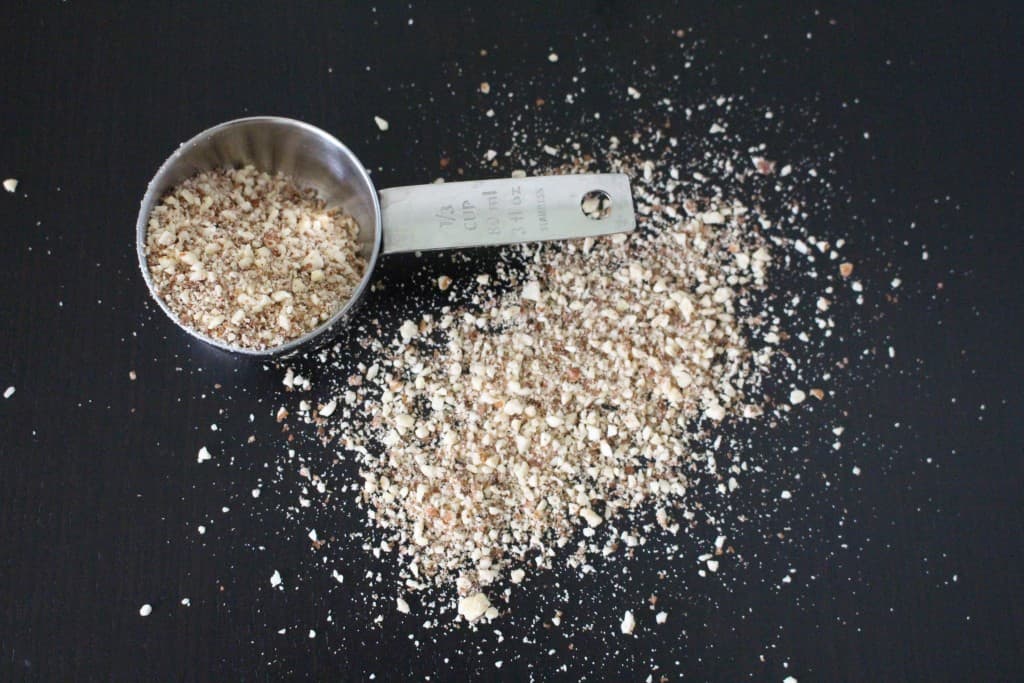
- In food processor blend the almonds into a rough meal and reserve 200g (1 ½ cups for the “truffles” and decorating the cake).
- Add the remaining dry ingredients and pulse to combine.
- Finally, add the water, maple, essential oil and coconut oil and process to bring the mix together.
- You may need to transfer the dough to a bowl and fully mix it by hand, depending on the capacity of your jug.
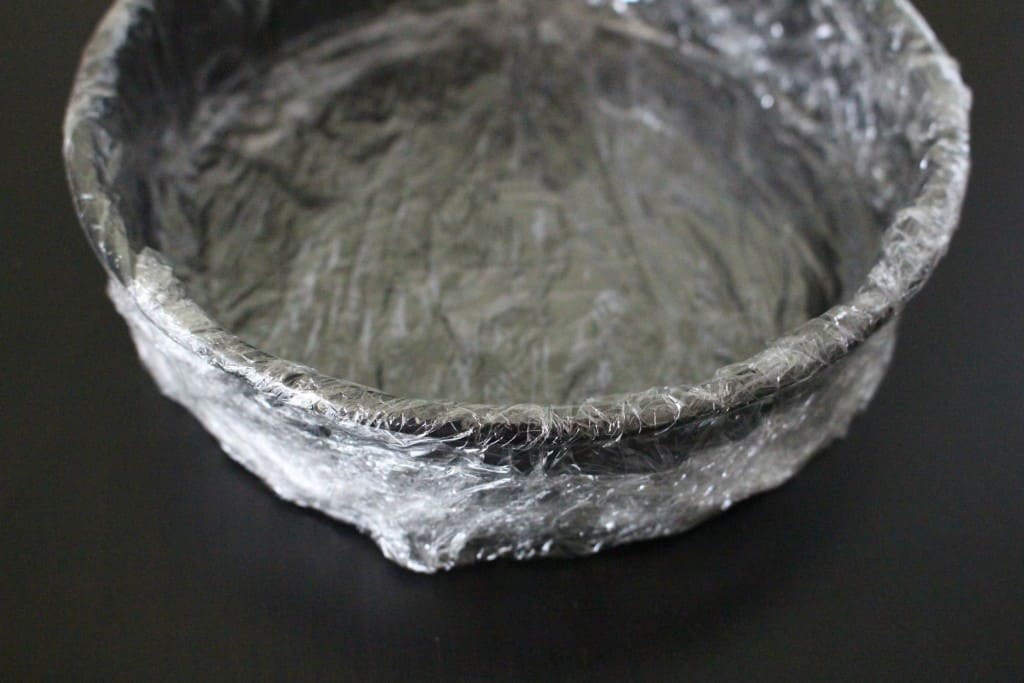
- Line a 6-inch cake tin with cling film (or use a silicone cake mould) and press the dough into the base, reserving 100g (½ cup) of mix to make “truffles” for decoration on top.
- Use the back of a measuring cup to flatten the dough down into the tin, without leaving finger marks. Then touch up the outside of the cake by using the back of a teaspoon.
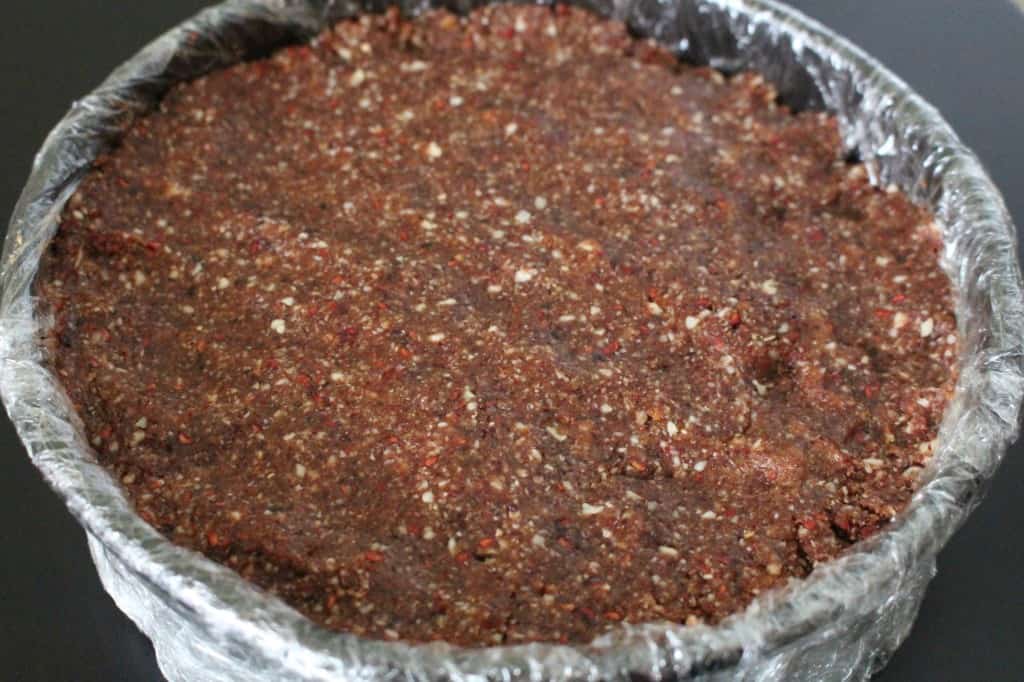 (Result of pressing with your fingers)
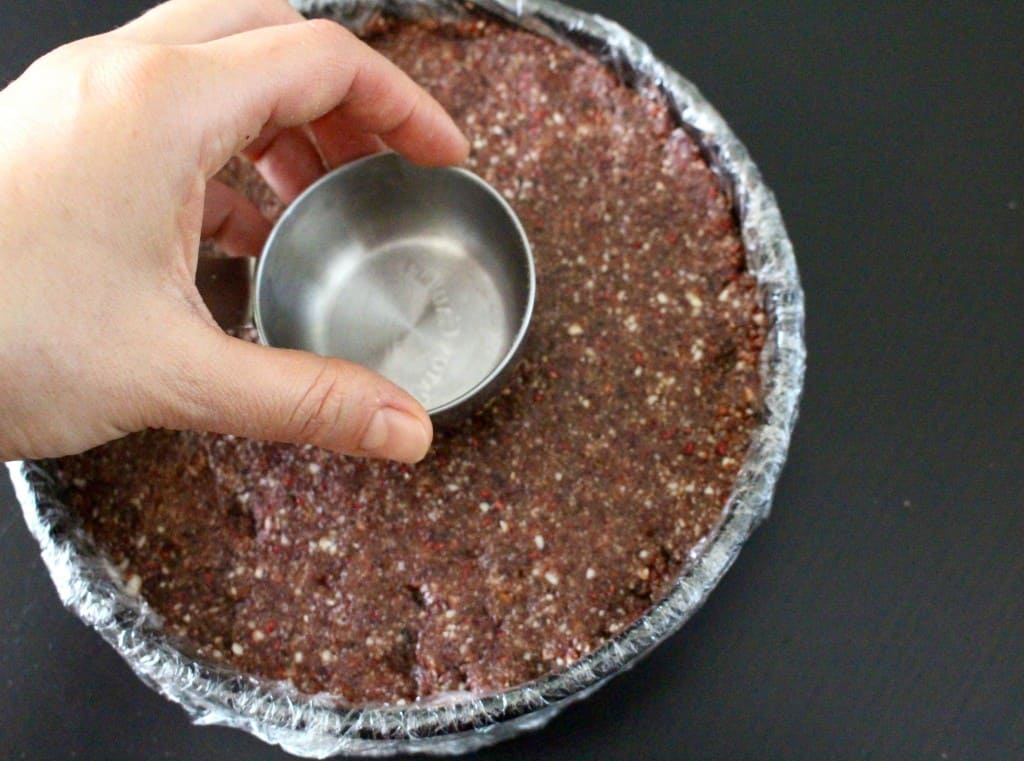 ( Cleaning up with the back of a measuring cup )
 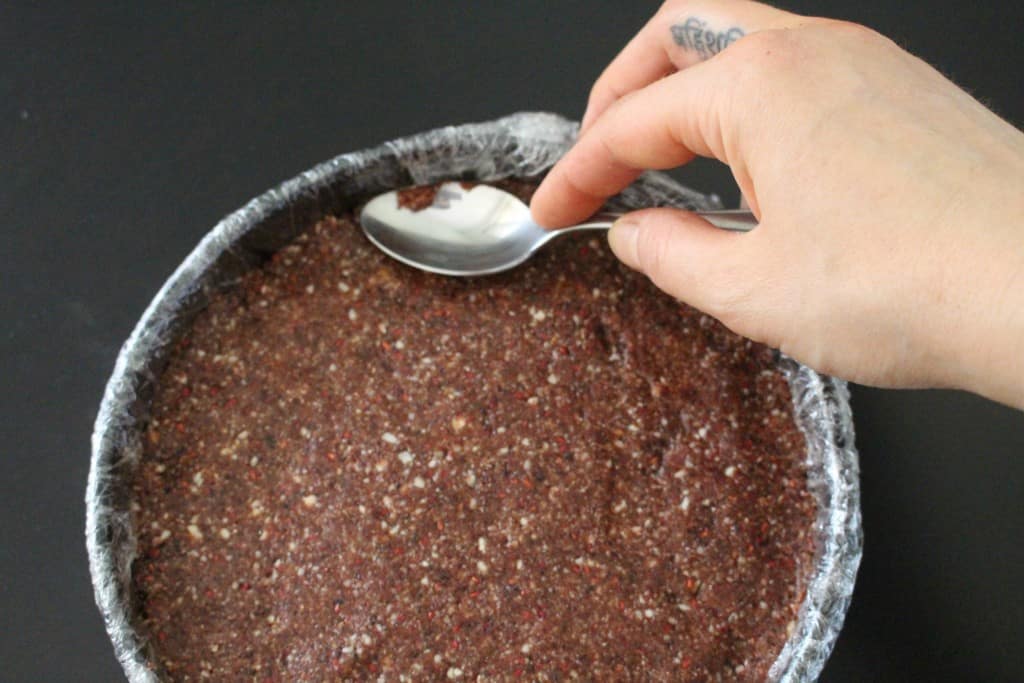 ( Tidying the edges with the back of a spoon )
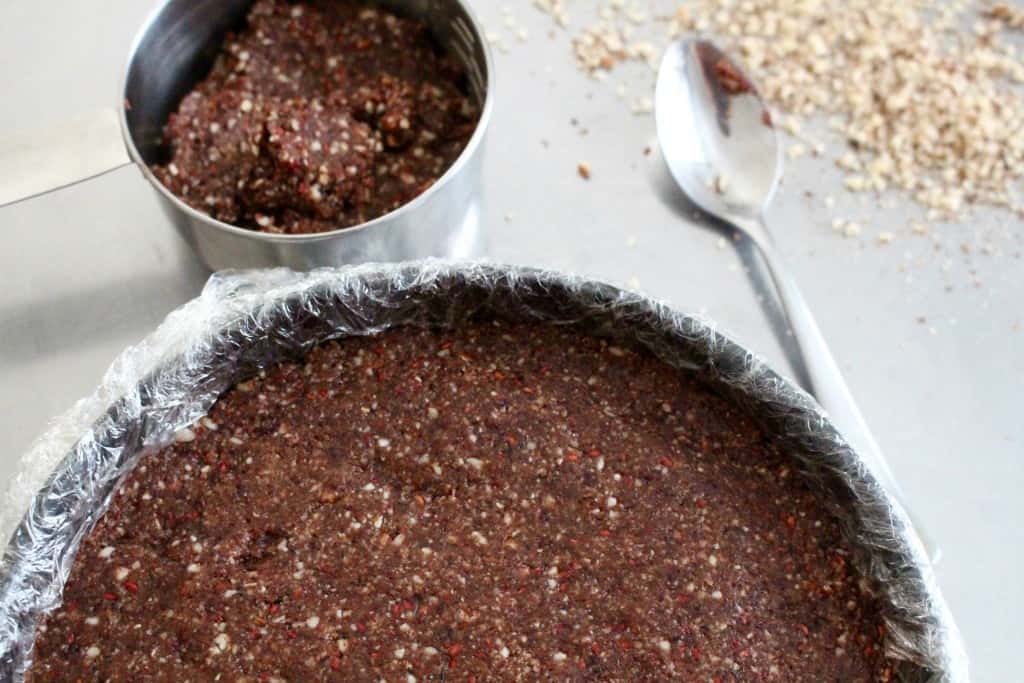 ( Pretty edges and clean top )
- Pop in the freezer to set. Freezing it (or at least getting the outside very cold) will help with frosting the cake.
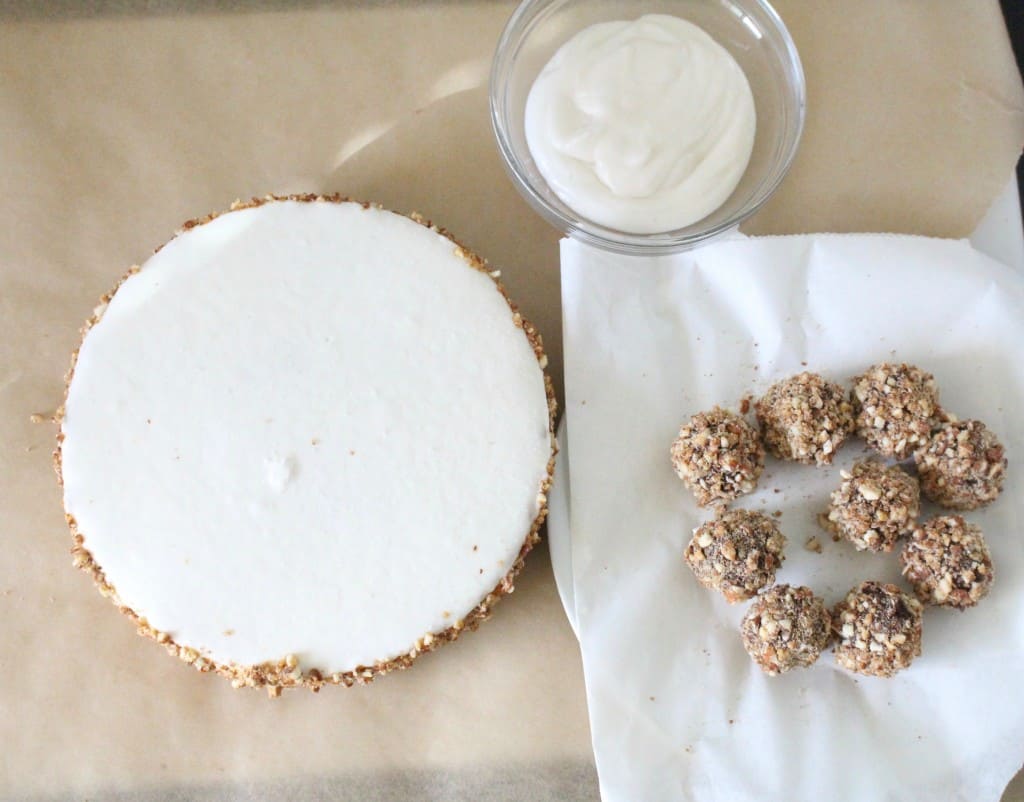
- Roll the dough you reserved into 8-9 small balls. When I did this I weighed them to 12-13 grams each ball…if you want to get specific about it. 🙂
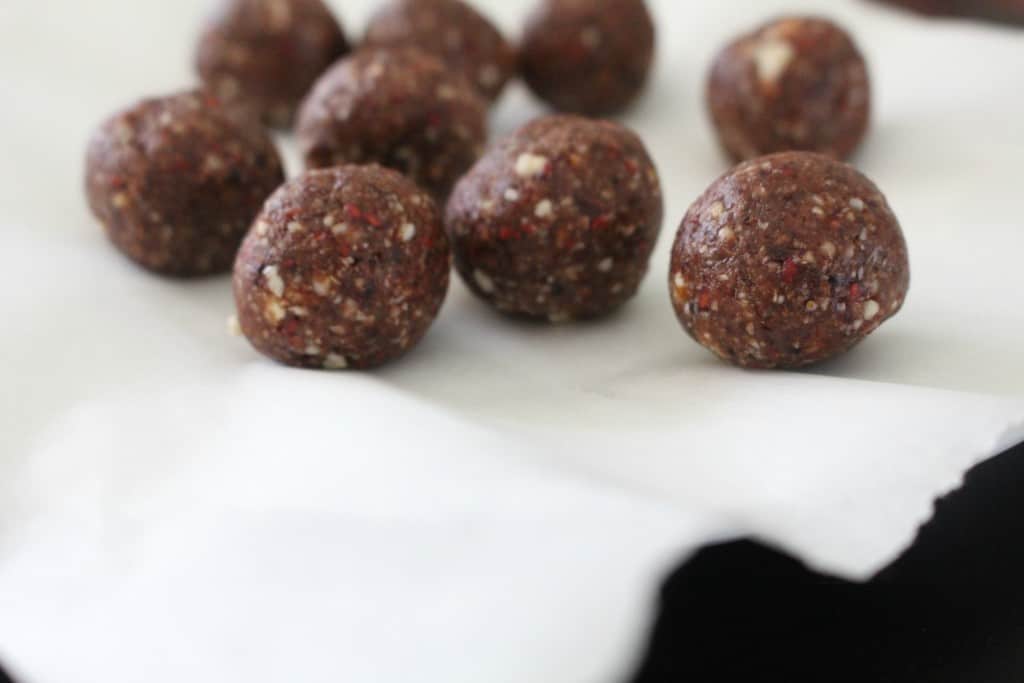
- Place the balls into the fridge to set.
- Lastly, either use the enrobing instructions below to finish them or use them as is on top of the cake, either way it’s a beautiful touch.
Coconut Honey Frosting
200g (2 ¼ cup) desiccated/shredded coconut
50g (scant ¼ cup) runny honey
50g (¼ cup) lemon juice100g (½ cup) warm water
Method
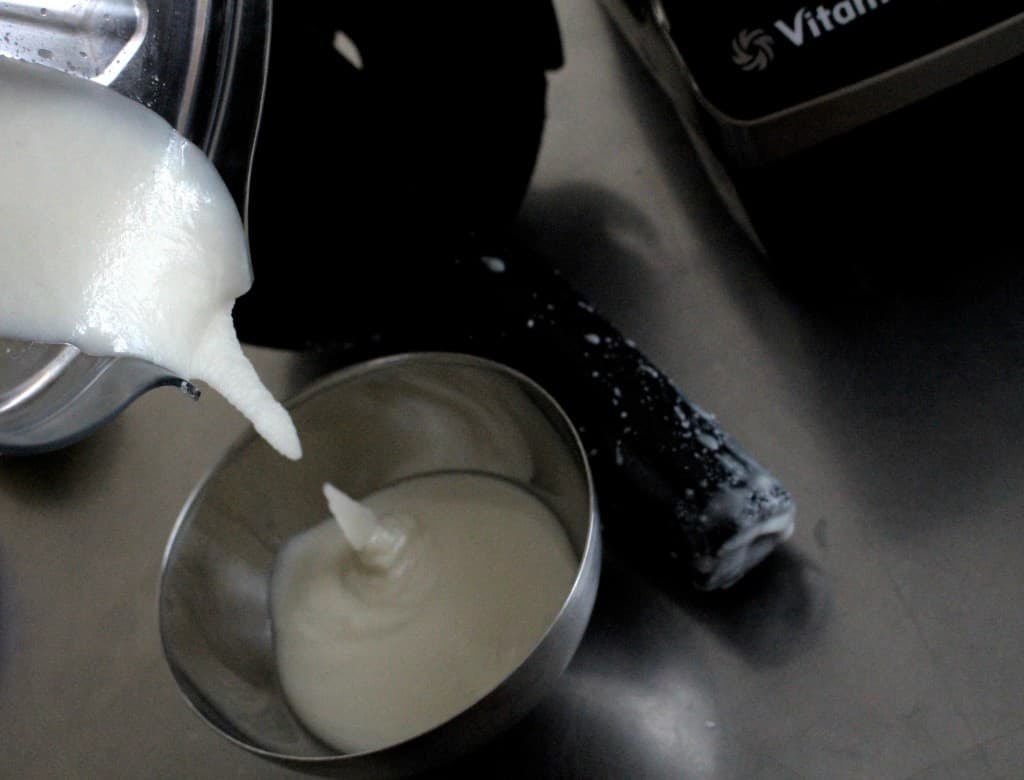
- In a Vitamix or high-speed blender, with a tamper, or built in stirring device (such as the Blendtec), blend the coconut into a butter. If using a tamper, use it to push the coconut into the base of the blender until it turns into a thin butter. This takes about 1 minute or so.
- Important to note, the blender must be completely dry in order for the coconut to turn to butter.
- Turn the blender off and add the lemon juice and honey.
- Blend on lowest speed just to combine. You’ll notice the mix seizes (thickens) up a little bit.
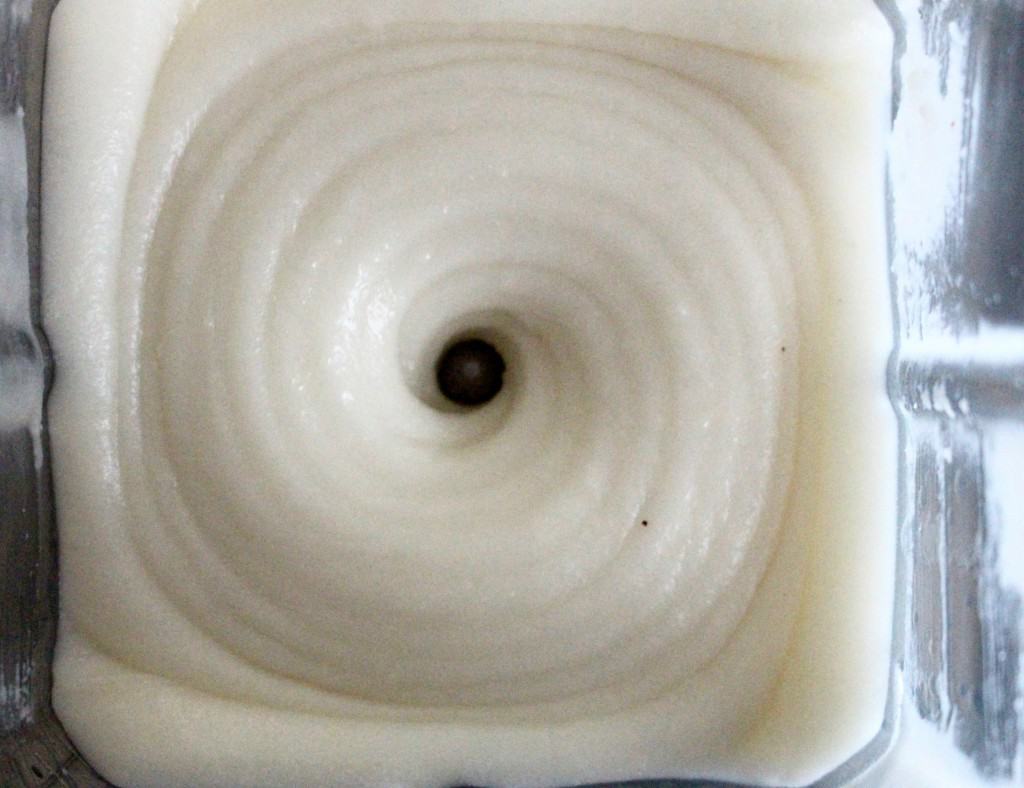
- Starting on low speed, drizzle in the water and turn the blender up a little at a time as you drizzle. This will create an emulsification. You’ll notice the mix goes smooth, creamy and a little shiny.
- Transfer the frosting to a shallow container or bowl and put in the fridge
(20-30 minutes) or freezer (10- 15 minutes), just to firm up a little.
Assembly
- Remove the cake from the tin and peel the cling film off.
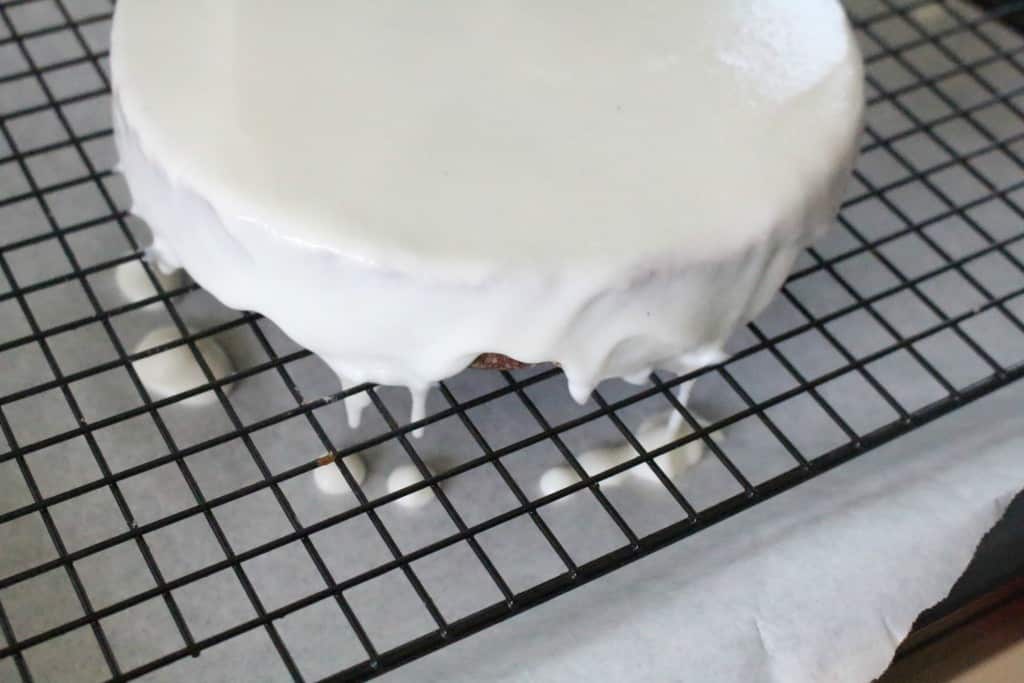
- Line a baking tray with greaseproof paper, (or use a spinning cake stand ) place a wire cooling rack on top and place the cake on top of the rack.
- If your frosting is still a thick liquid, pour it over the top of the cake and use an offset spatula to spread it evenly over the surface and down the sides to cover. If the cake is frozen, the frosting will set to it rather quickly.
- If the frosting is fully set and rather firm, you can simply allow it to come to room temp, at which stage it will be spreadable with an offset spatula.
- Once you have applied the frosting evenly and you’re pleased with the result, you can decorate the sides with the prepared, activated crumbled almonds. This is optional but looks really nice.
- Pop the cake in the fridge or freezer to set while you dip the cake balls in chocolate.
- Keep the frosting at room temp so you can use it to glue the truffles onto the cake.
- Once the cake balls are enrobed and set, grab the cake out of the freezer or fridge.
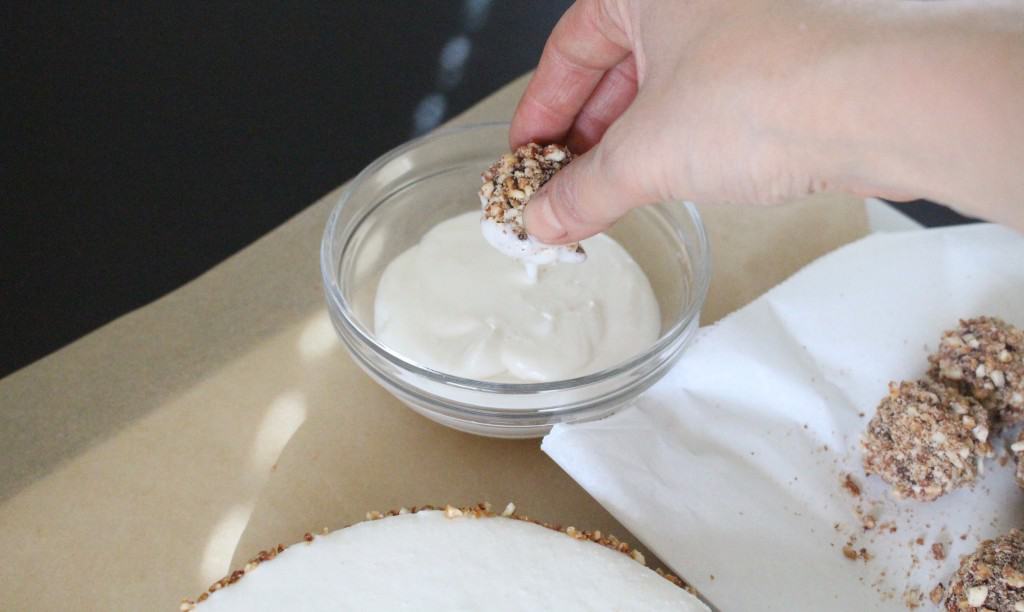
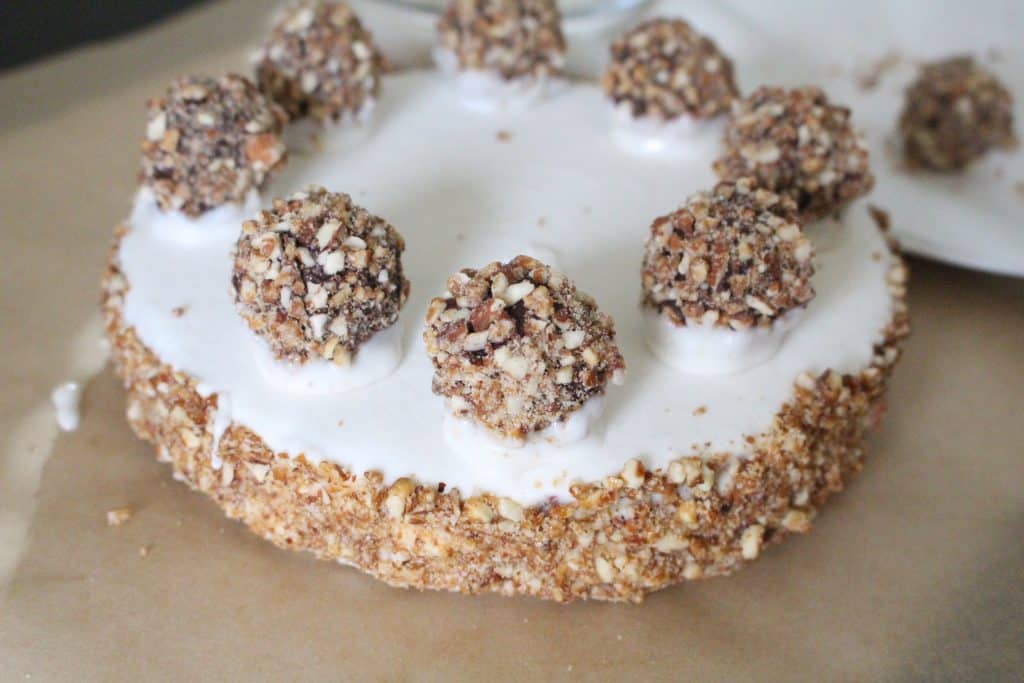
- Dip the base of the enrobed cake balls into the frosting and place on top of the cake. Think about how you’ll be cutting the cake, that’s how you want to position the truffles, so they are at the back of the slice of cake when cut.
- Once all cake balls are on the cake, pop in the fridge to set up.
- When you cut the cake, the balls might come off, worry not. You can simply grab some more frosting and glue them back on or dip your offset into boiled water and touch it to the base of the truffle where the frosting came loose and it’ll melt it enough that you can re-glue it.
To Enrobe the cake balls
Using pre-made chocolate
- Choose a chocolate that you enjoy. Health-wise, the darker, the better. I even use 100% cacao paste sometimes as the cake is so sweet, the thin chocolate shell doesn’t need to be.
- Chop it up into small pieces—the smaller they are, the faster they will melt. Pop 1/2 of the pieces into a stainless steel mixing bowl.
- Fill a sauce pot about 1 inch with water.
- Put the bowl of chocolate on top; the bowl should not touch the water or it can burn the chocolate.
- Bring water to a simmer and stir the chocolate constantly, over a low simmer, until it has melted evenly.
- Once the chocolate is melted, remove from the bowl from on top of the pot and add the remaining 1/2 of the chocolate you chopped up.
- Stir that chocolate through until it’s all melted.
- Have the activated ground almonds ready and in a small bowl (the ones you set aside when you made the cake ).
- The cake balls shouldn’t be straight out of the freezer—if they have been frozen, allow to come to cool room temp before enrobing. If they are coming right from the fridge, let them sit at room temp for 10 mins before enrobing.
- Set yourself up so that the cake balls are set to your left (reverse if you are left-handed). Put a fork and your bowl of melted chocolate in front of you, and a tray lined with greaseproof or a Teflex lined dehydrator tray is set to your right.
- Drop one cake ball into the bowl of chocolate.
- Use your fork to push it into the chocolate and then fish it out—avoid dragging it up the side of the bowl.
- Tap the fork on the side of the bowl and swipe the bottom of the fork along the edge of the bowl to remove excess chocolate.
- For aesthetic reasons, take your time to ensure you have removed as much excess as possible, otherwise you will end up with a puddle under your finished truffle.
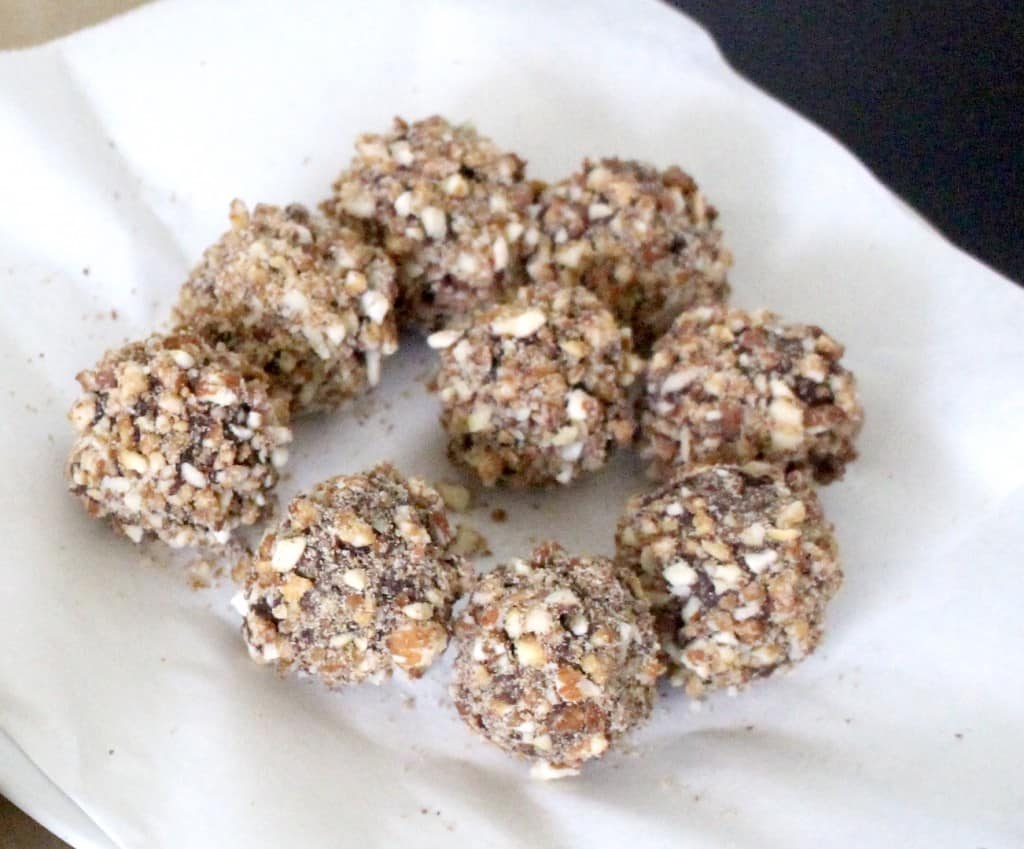
- Drop your enrobed cake ball into the bowl of activated ground almonds and coat fully.
- Lift the cake ball out of the almonds, shake off the excess and place on the empty tray to your right.
- If your chocolate starts to get too thick while you are working with it, simply give it a tiny bit of heat on the double boiler ( or in your dehydrator ) again as before, just to loosen it up.
- Once all cake balls are enrobed and garnished, set the tray in the fridge for about 5 minutes and then allow to set the remainder of the way at room temp.