Chocolate and mint are such a classic combination and one of my personal faves. I mean, who didn’t eat mint chocolates as a kiddo?! And the fact that you did means you have an emotional association with it, and that makes eating it as an adult even more spectacular. It’s always the case with flavours from our childhood, that’s why I like to focus on those so much.
Was that super random? Sweet. Gotta keep you on your toes.
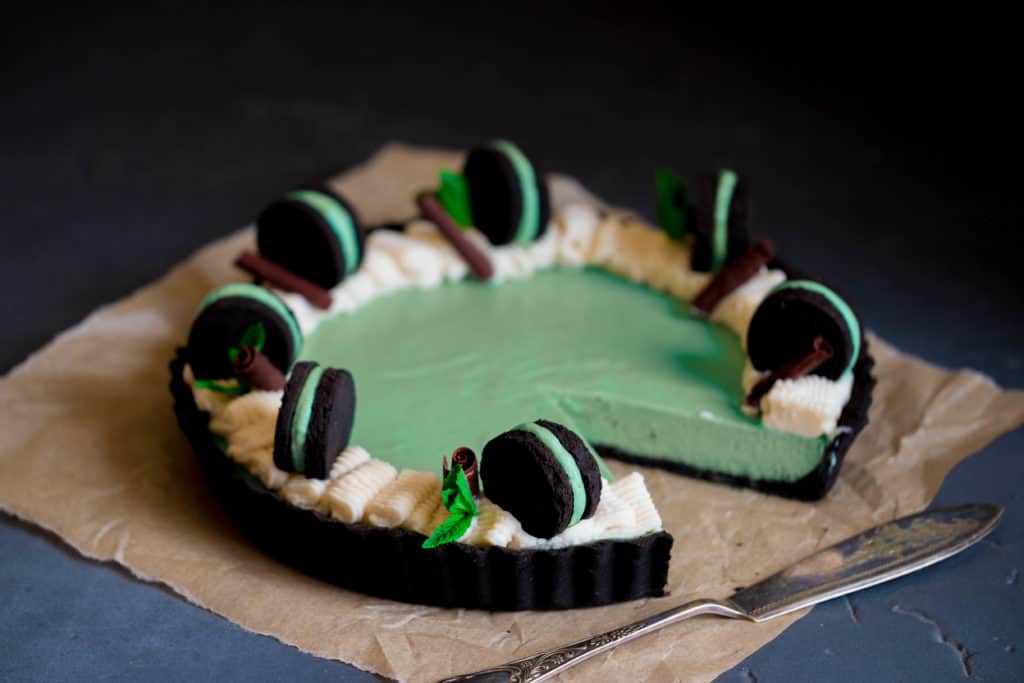
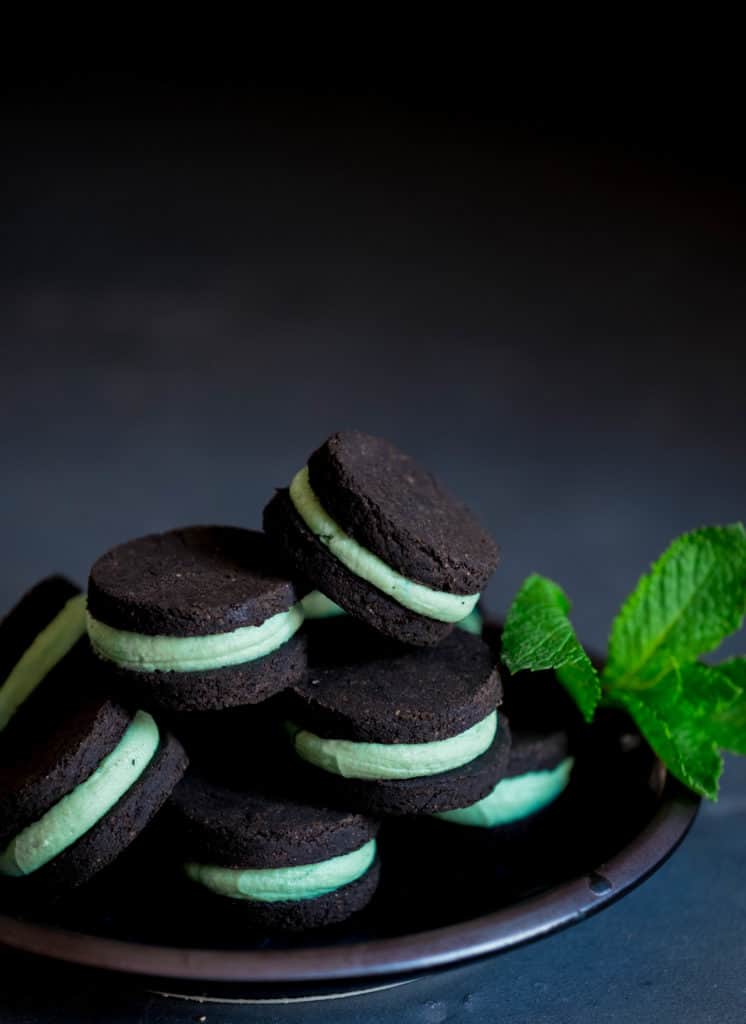
I love the black colour the charcoal gives to the crust, it makes the minty green stand out even more. The crust is crumbly (I dehydrated mine), so it’s like a proper biscuit crust and it does a great job of adding texture to every minty bite of this decadent pie. The cookies are, of course, optional, but awesome as a little treat in and of themselves, or as a decoration on top (as you see up there… look up there, you see em?) Let me know how yours turns out in the comments below this post.
Chocolate Charcoal Crust
100g ( ½ cup tightly packed ) coconut sugar, powdered
130g ( 1 ½ cups ) tigernut, oat or almond flour
60g ( ½ cup ) cacao powder
30g ( 3 tbsp ) raw charcoal powder, optional
50g ( scant ¼ cup ) cacao butter, melted
50g ( ¼ cup ) water, as needed to bind
Method
- In a food processor, blend the first set of ingredient to combine well.
- Add the second set of ingredients and pulse to mix. The mix should come together, but not be so moist that it forms into a ball in the machine.
- Reserve ¼ of the dough for the cookies.
- Line a cake tin with cling film, or use a silicone baking tin, and press the crust into the base, bringing it up the sides. Dampen your fingers as needed to smooth it out and keep it from sticking to your hands as you work it into the shell. Don’t over moisten your hands and dampen the crust too much.
- Pop in the freezer while you make the filling or dehydrate the crust in the prepared tart tins lined with an X strip of greaseproof for easy release.
- Roll the remaining dough out between two pieces of telfex sheets or greaseproof paper (add a little water if needed to roll without cracking) to about a ¼ inch thickness.
- Use a round cutter to form the dough into 1-1 ½ inch rounds or the desired size.
- Dry the cookies on a mesh sheet for 4 hours. Allow to cool before applying the mint filling.
Mint Creme Filling
200g ( 1 cup ) young coconut meat, pat dry
130g ( 1 cup ) cashews – soaked 1 hour and rinsed
65g ( ⅓ cup ) maple syrup
100g ( ½ cup ) xylitol
160ml ( ¾ cup ) water
2 tbsp lemon juice
6-8 drops vanilla medicine flower extract
10-12 drops peppermint essential oil
Pinch sea salt
100g ( ⅓ cup + 2 tbsp ) coconut oil, melted
65g ( ⅓ cup ) cacao butter, melted
For Colour
1 tsp spirulina powder
2 tbsp water, or as needed
Method
- Blend the first set of ingredients until smooth in a high speed blender. Use tamper if needed to keep it moving.
- Taste and see if you want to add more sweetener.
- Reserve ¼ of the batch in a bowl and pop in the fridge to set, this will be for piping on top.
- In a small bowl mix together the spirulina and water to make a paste. And add 1 tsp at a time to the blender to make it the green shade you desire.
- Pour ⅔ green cream into the prepared pie crust ( once cooled ). Pour the rest into a bowl and set in the fridge. This will be the cream for the sandwiches.
- Pop the pie in the freezer to set 1-2 hours.
Assembly
Biscuits – cooled and paired
Mint filling – in a piping bag
White Creme – in a piping bag
Pie – set
Method
- Pipe a little green creme into the centre of half the biscuits and then press the paired one on top to spread the creme to the edges. Pop in the fridge to firm whilst you pipe the white creme onto the pie.
- Using your desired piping tip, pipe the white creme around the edge of the pie to cover.
- Grab out the cookies and place them on top, evenly spaced.
- Serve at once or store in the fridge for 3-5 days.
- Stores well in the freezer in an airtight container for several months.
FREE Videos: Start watching and learning today
Are you a visual learner? Yeah, me too. If I can’t be there in person, I love a video. This FREE mini series covers everything you need to know in order to start making professional quality chocolate at home with ease.
Want to know when a new recipe is posted?
You’re busy. I know this. You can’t keep checking my site for new recipes. Sign up for my newsletter and I’ll send you a new recipe every week. Boom!