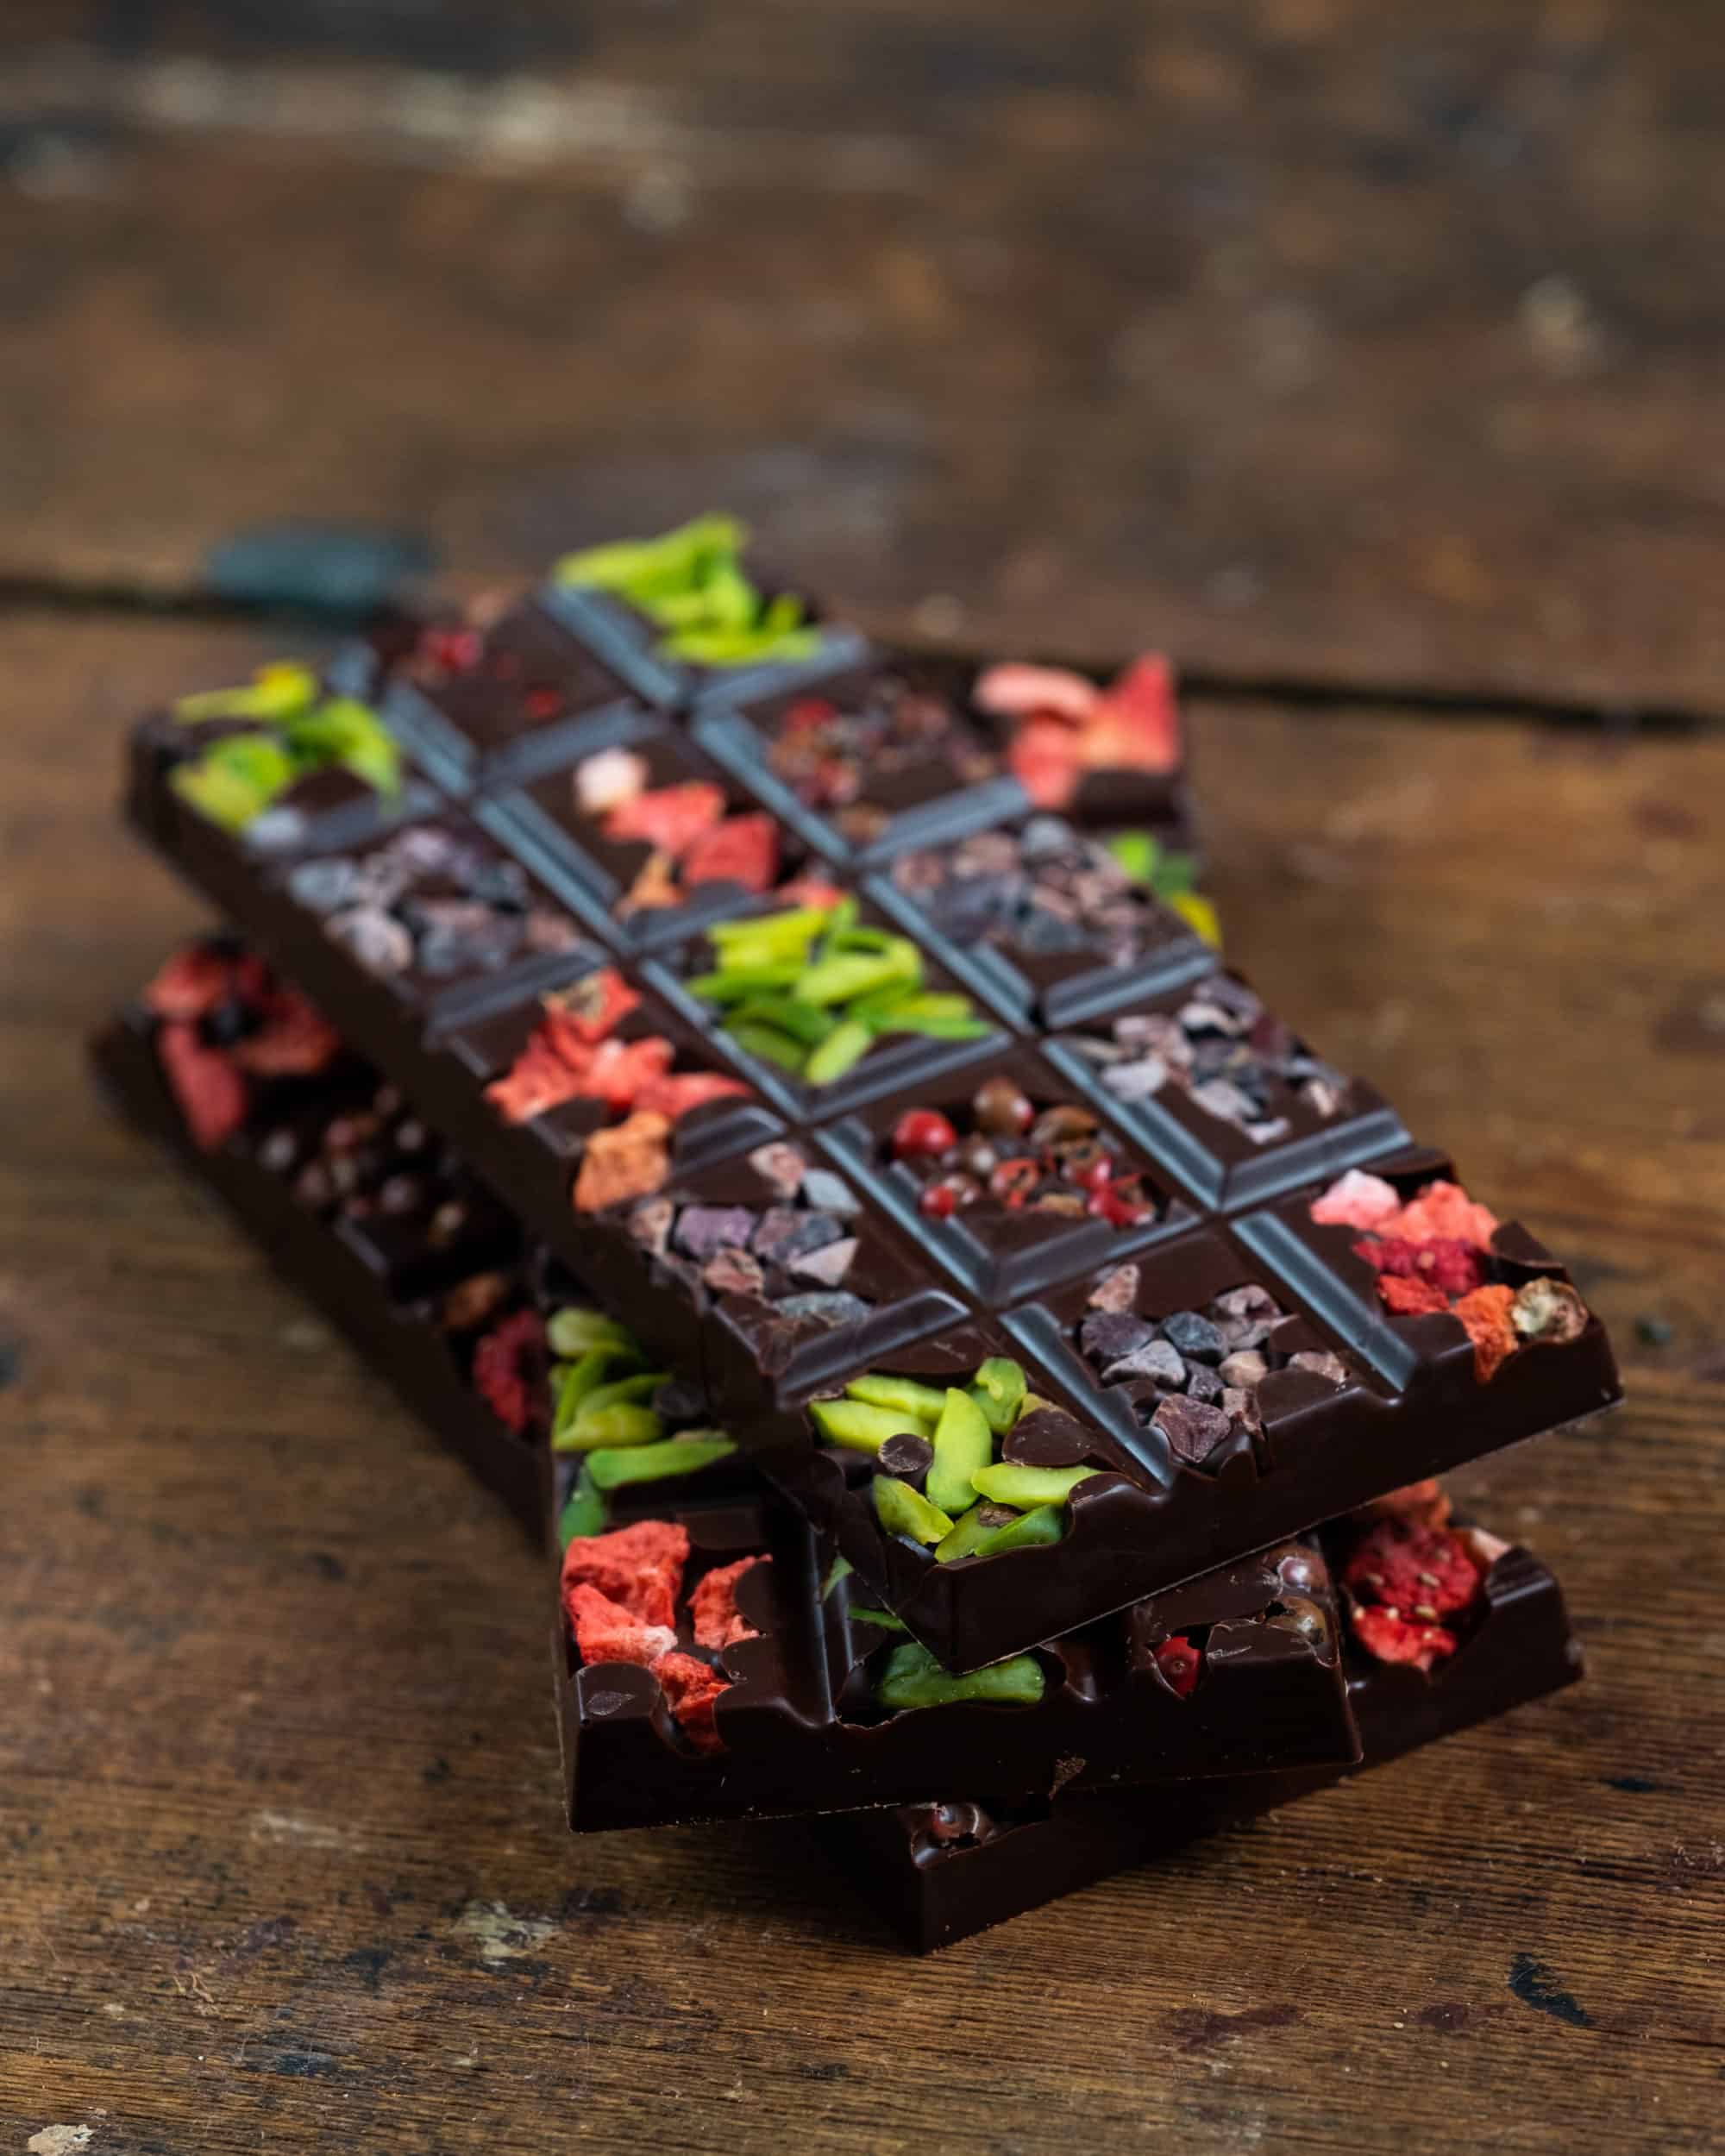
 In a recent chat I was having with an Aussie friend, she suggested that I make some classic Australian desserts in raw format. Now, I love a challenge, you see, and, yeah, I’ll be the first to admit that I am very competitive. What I love about this though, is that it’s self competitive and it challenged me to create something in raw form that I have actually never eaten before. So, needless to say, I was very pleased with the resulting recipe.
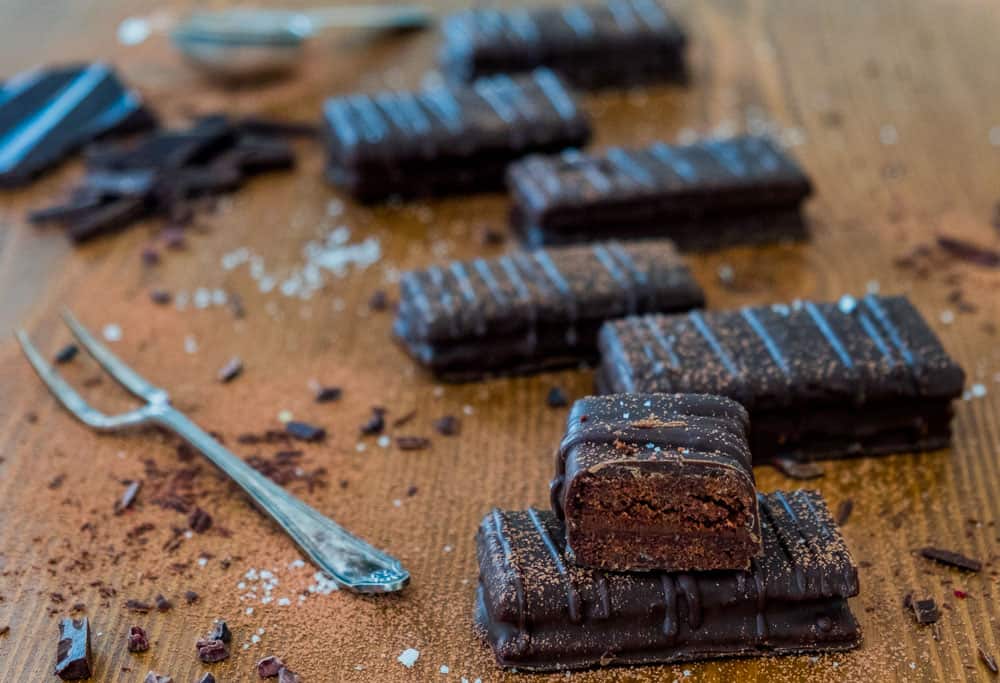
The chocolate shell holds it all so beautifully inside, it shelters it, you see. And once you break that sweet, dark protective layer, the soft, crumbly biscuit breaks under the cut of your bite and presses the bittersweet chocolate ganache filling into the sides of your mouth, hitting your sweet tastebuds before mixing with the other layers to complete this first, wonderfully chocolatey candy bar. Thank Baby Jesus that was only the first bite…5 more to go.
If you just read that…YOU ROCK!
Chocolate Biscuits
Wet
115g ( ½ cup ) water
15g ( ⅛ cup ) cold pressed sesame or nut oil
75g ( ¼ cup ) coconut sugar
75g ( ½ cup ) cashews, soaked and rinsed
50g ( ⅓ cup ) cacao powder + more for rolling
15g ( ¼ cup ) psyllium husk
Dry
45g ( ⅓ cup ) oat flour
60g ( ½ cup ) ground almonds
15g ( 1 tbsp ) coconut flour
Method
- Blend the first set of ingredients until smooth.
- Add the psyllium and pulse to incorporate.
- Mix the last set of ingredients together in a mixing bowl.
- Add the contents of the blender and mix well with your hands until it comes together.
- Allow to set 5 minutes, to firm up.
- Form the dough into a ball and dust with cacao powder.
- Roll the dough out between two pieces of teflex or greaseproof paper to ¼ inch thickness.
- Trim the dough into a rectangle or square and then cut the sized “bars” you’d like. Dampen the knife or spatula so it doesn’t stick to the dough.
- Transfer the cut cookies to a mesh dehydrator tray and dehydrate at 115f for 10-15 hours or until they’re firm, but still soft inside.
- While these are drying, make the ganache filling.
- Allow to cool before filling them.
Chocolate Filling
35g ( ⅛ cup ) nut/seed butter – cashew, coconut, almond, tahini, etc…
120g ( ½ cup ) water, hot/warm
100g ( 3.5 oz ) cacao paste, baking chocolate or your favourite chocolate – shaved
50g ( ¼ cup ) xylitol or coconut sugar
½ tsp tamari ( optional for added depth )
Method
- It’s important the water is warm / hot and the chocolate is shaved before you start this recipe.
- The liquid being warm/hot and the chocolate being shaved will mean that the mixture melts very quickly and can properly emulsify in the blender.
- Combine all ingredients in a high speed blender and process, starting on low-medium and then increase to full power until all ingredients are smooth and creamy.
- Pour the contents into a shallow bowl. Place the bowl into the fridge to set, about 4 hours or overnight.
Chocolate Coating
200g ( 8 oz ) cacao paste or your favourite chocolate, shaved
40g ( ¼ cup ) coconut oil
50g ( ¼ cup + 1 tsp ) maple, or your choice liquid sweetener
½ tsp tamari ( optional )
Method
- This shouldn’t be made until you’re ready to enrobe the bars in chocolate.
- Using a double boiler method, melt the coconut oil and chocolate/cacao paste together.
- Once melted, remove from the heat and whisk in the remaining ingredients.
To Assemble / Finish
- Cookies – cooled
- Ganache – set
- Chocolate Coating
- Piping bag with tip of your choice ( I used this one)
Method
- Pair the cookies together and trim them, if needed, so they fit perfectly together.
- Transfer the ganache to the piping bag with the tip you wish to use.
- Pipe ganache onto one of the cookies in the pair and them press them together to seal. It’s fine if you use too much ganache, as you press the cookies together it’ll seep out the sides and you can remove it. This also creates a nice seal around the cookie.
- Once all cookies are sealed, pop in the fridge to set the ganache again, for about 5-10 mins.
- Follow the video below to see how to enrobe.
- Once they are all covered in chocolate and set, transfer the leftover dipping chocolate to a disposable piping bag or a zip bag with the end cut. Either way, you want a very small hole in the tip.
- Use this chocolate to create lines across the bars or you can do splatters, dots, etc.. Whatever you like.
- Set again in the fridge and then transfer to an airtight container and store in the fridge for up to 1 week.

FREE Videos: Start watching and learning today
Are you a visual learner? Yeah, me too. If I can’t be there in person, I love a video. This FREE mini series covers everything you need to know in order to start making professional quality chocolate at home with ease.
Want to know when a new recipe is posted?
You’re busy. I know this. You can’t keep checking my site for new recipes. Sign up for my newsletter and I’ll send you a new recipe every week. Boom!