Making Easter Eggs is the same process as making hollow chocolate shells to fill with ganache, caramel or any number of lovely fillings. What changes is the shape of the mould, capacity (weight) and, therefore, the thickness of the shell.
Once you know how to shell a bonbon, for example, you will be able to transfer that skill into making thicker shells in larger capacity moulds, such as Easter Eggs.
Do you have a video on how to make Easter Eggs?
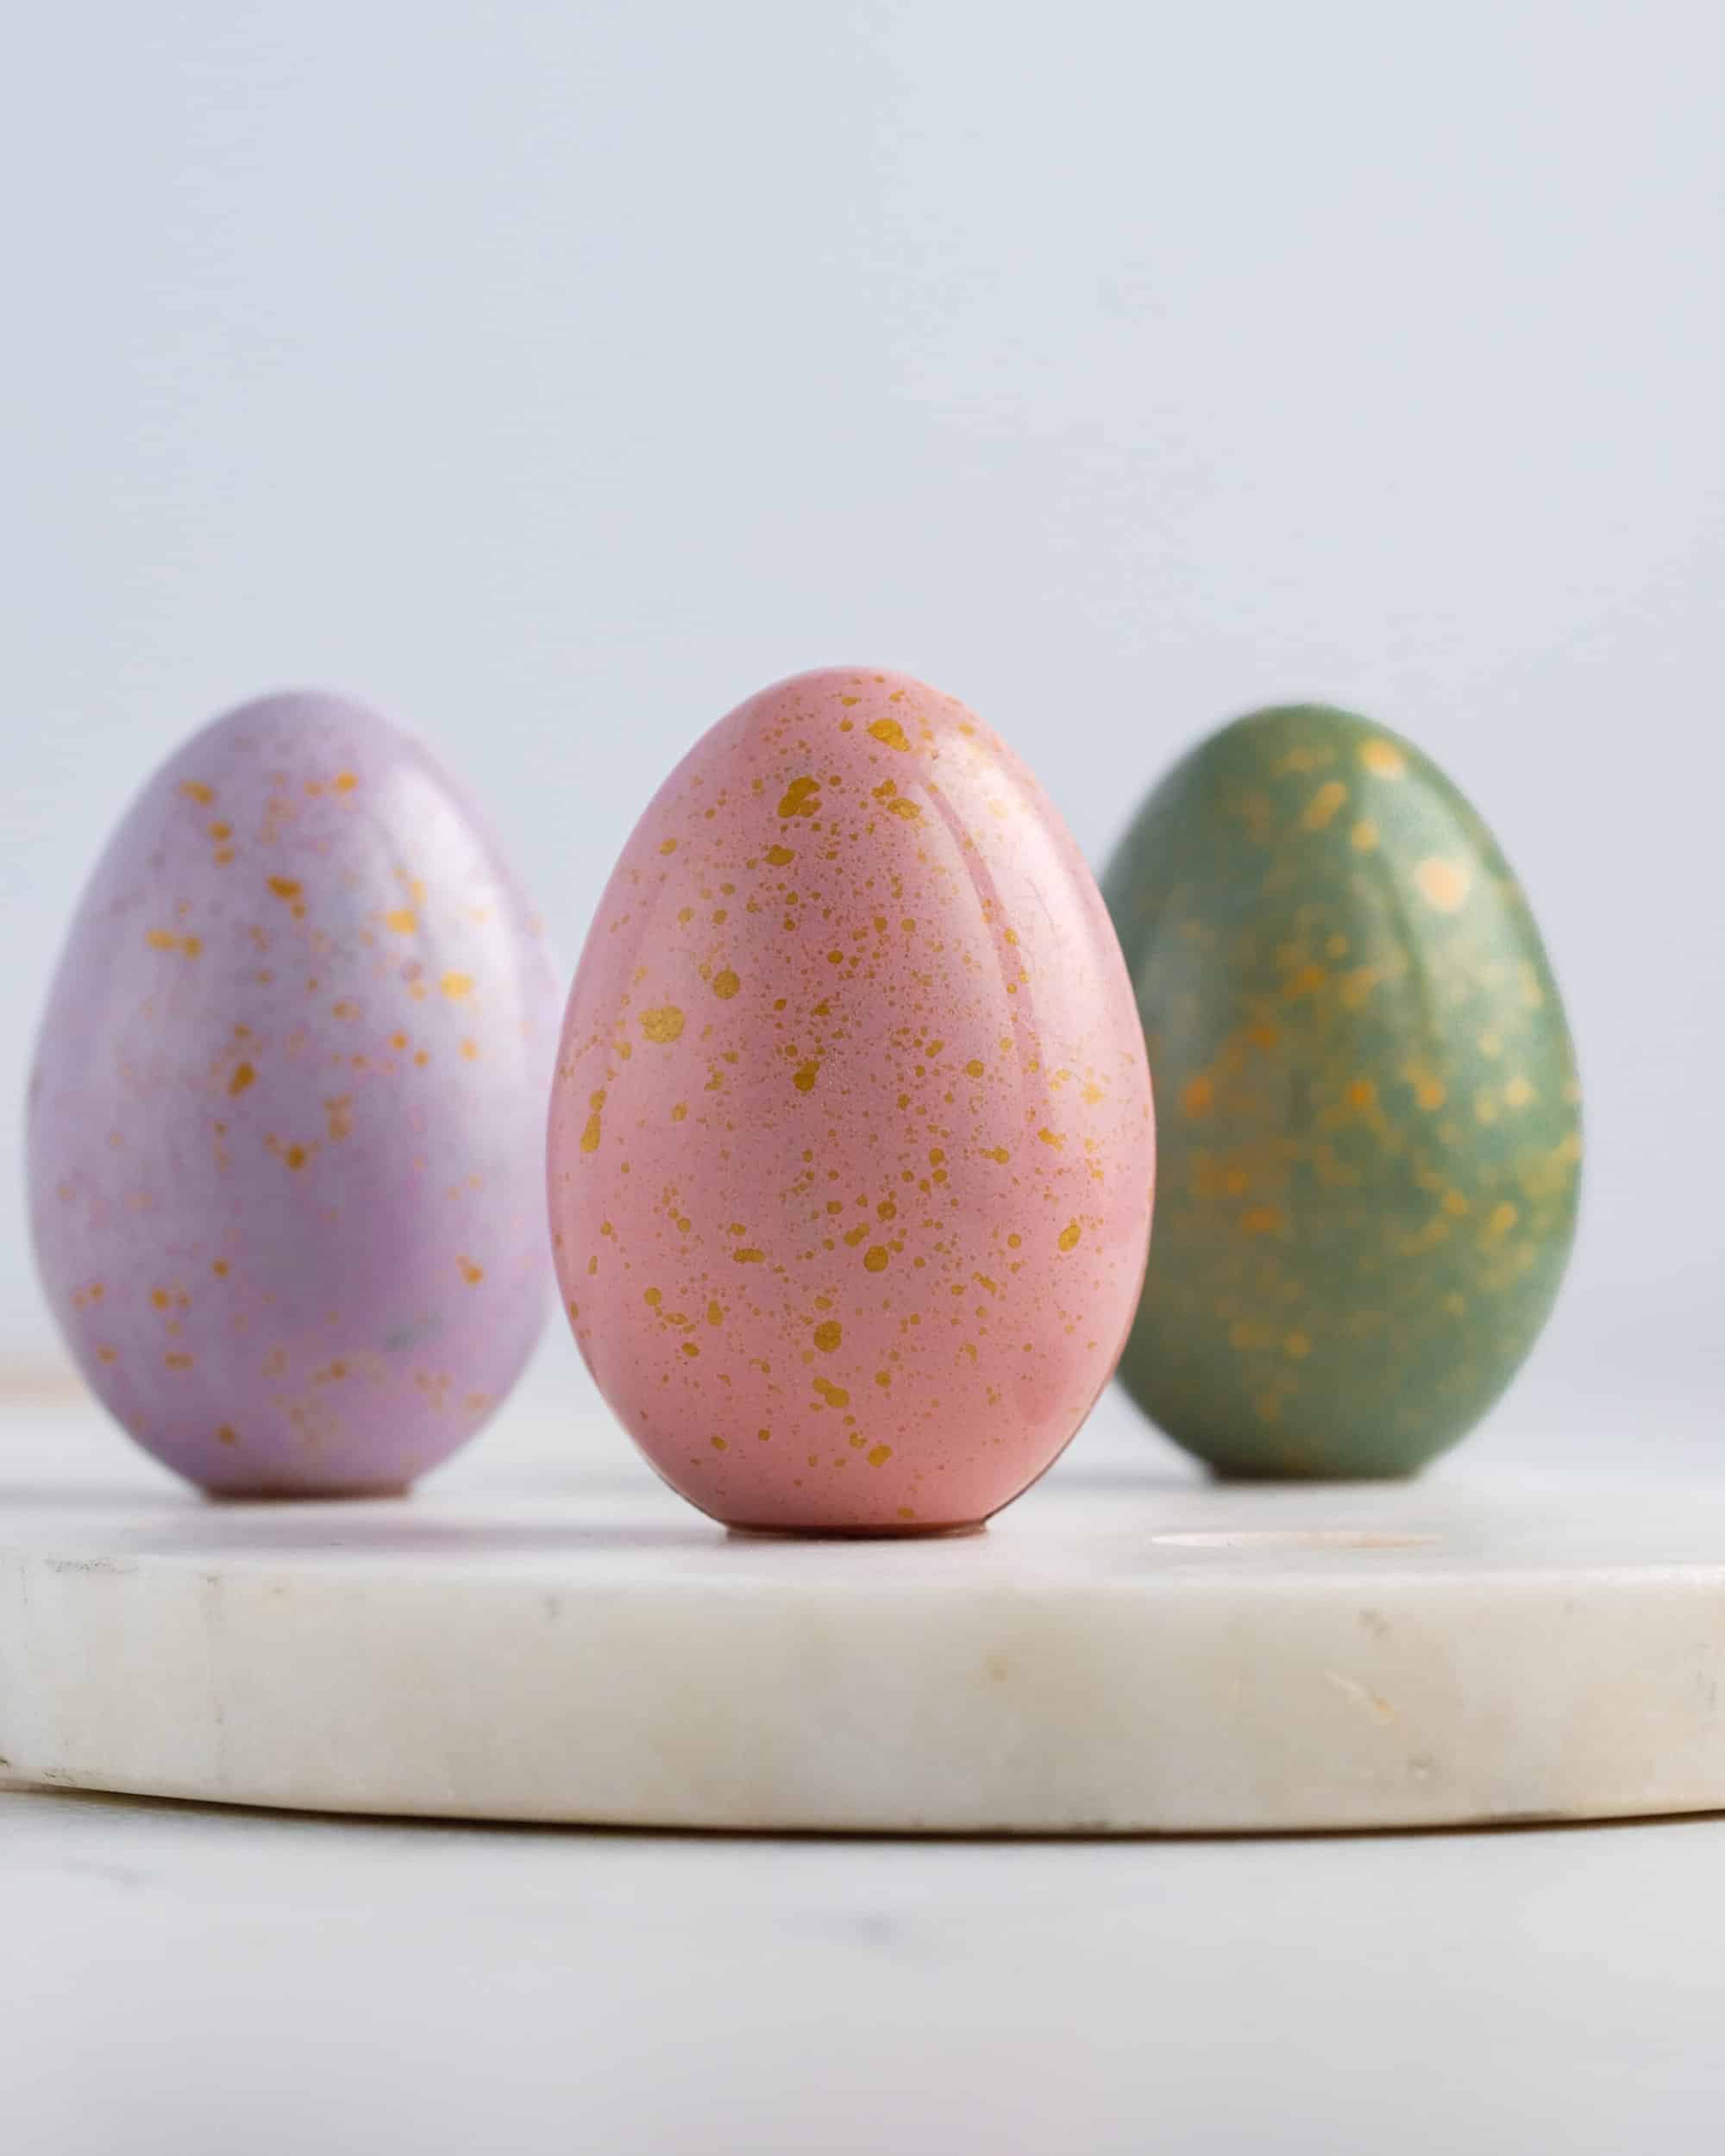
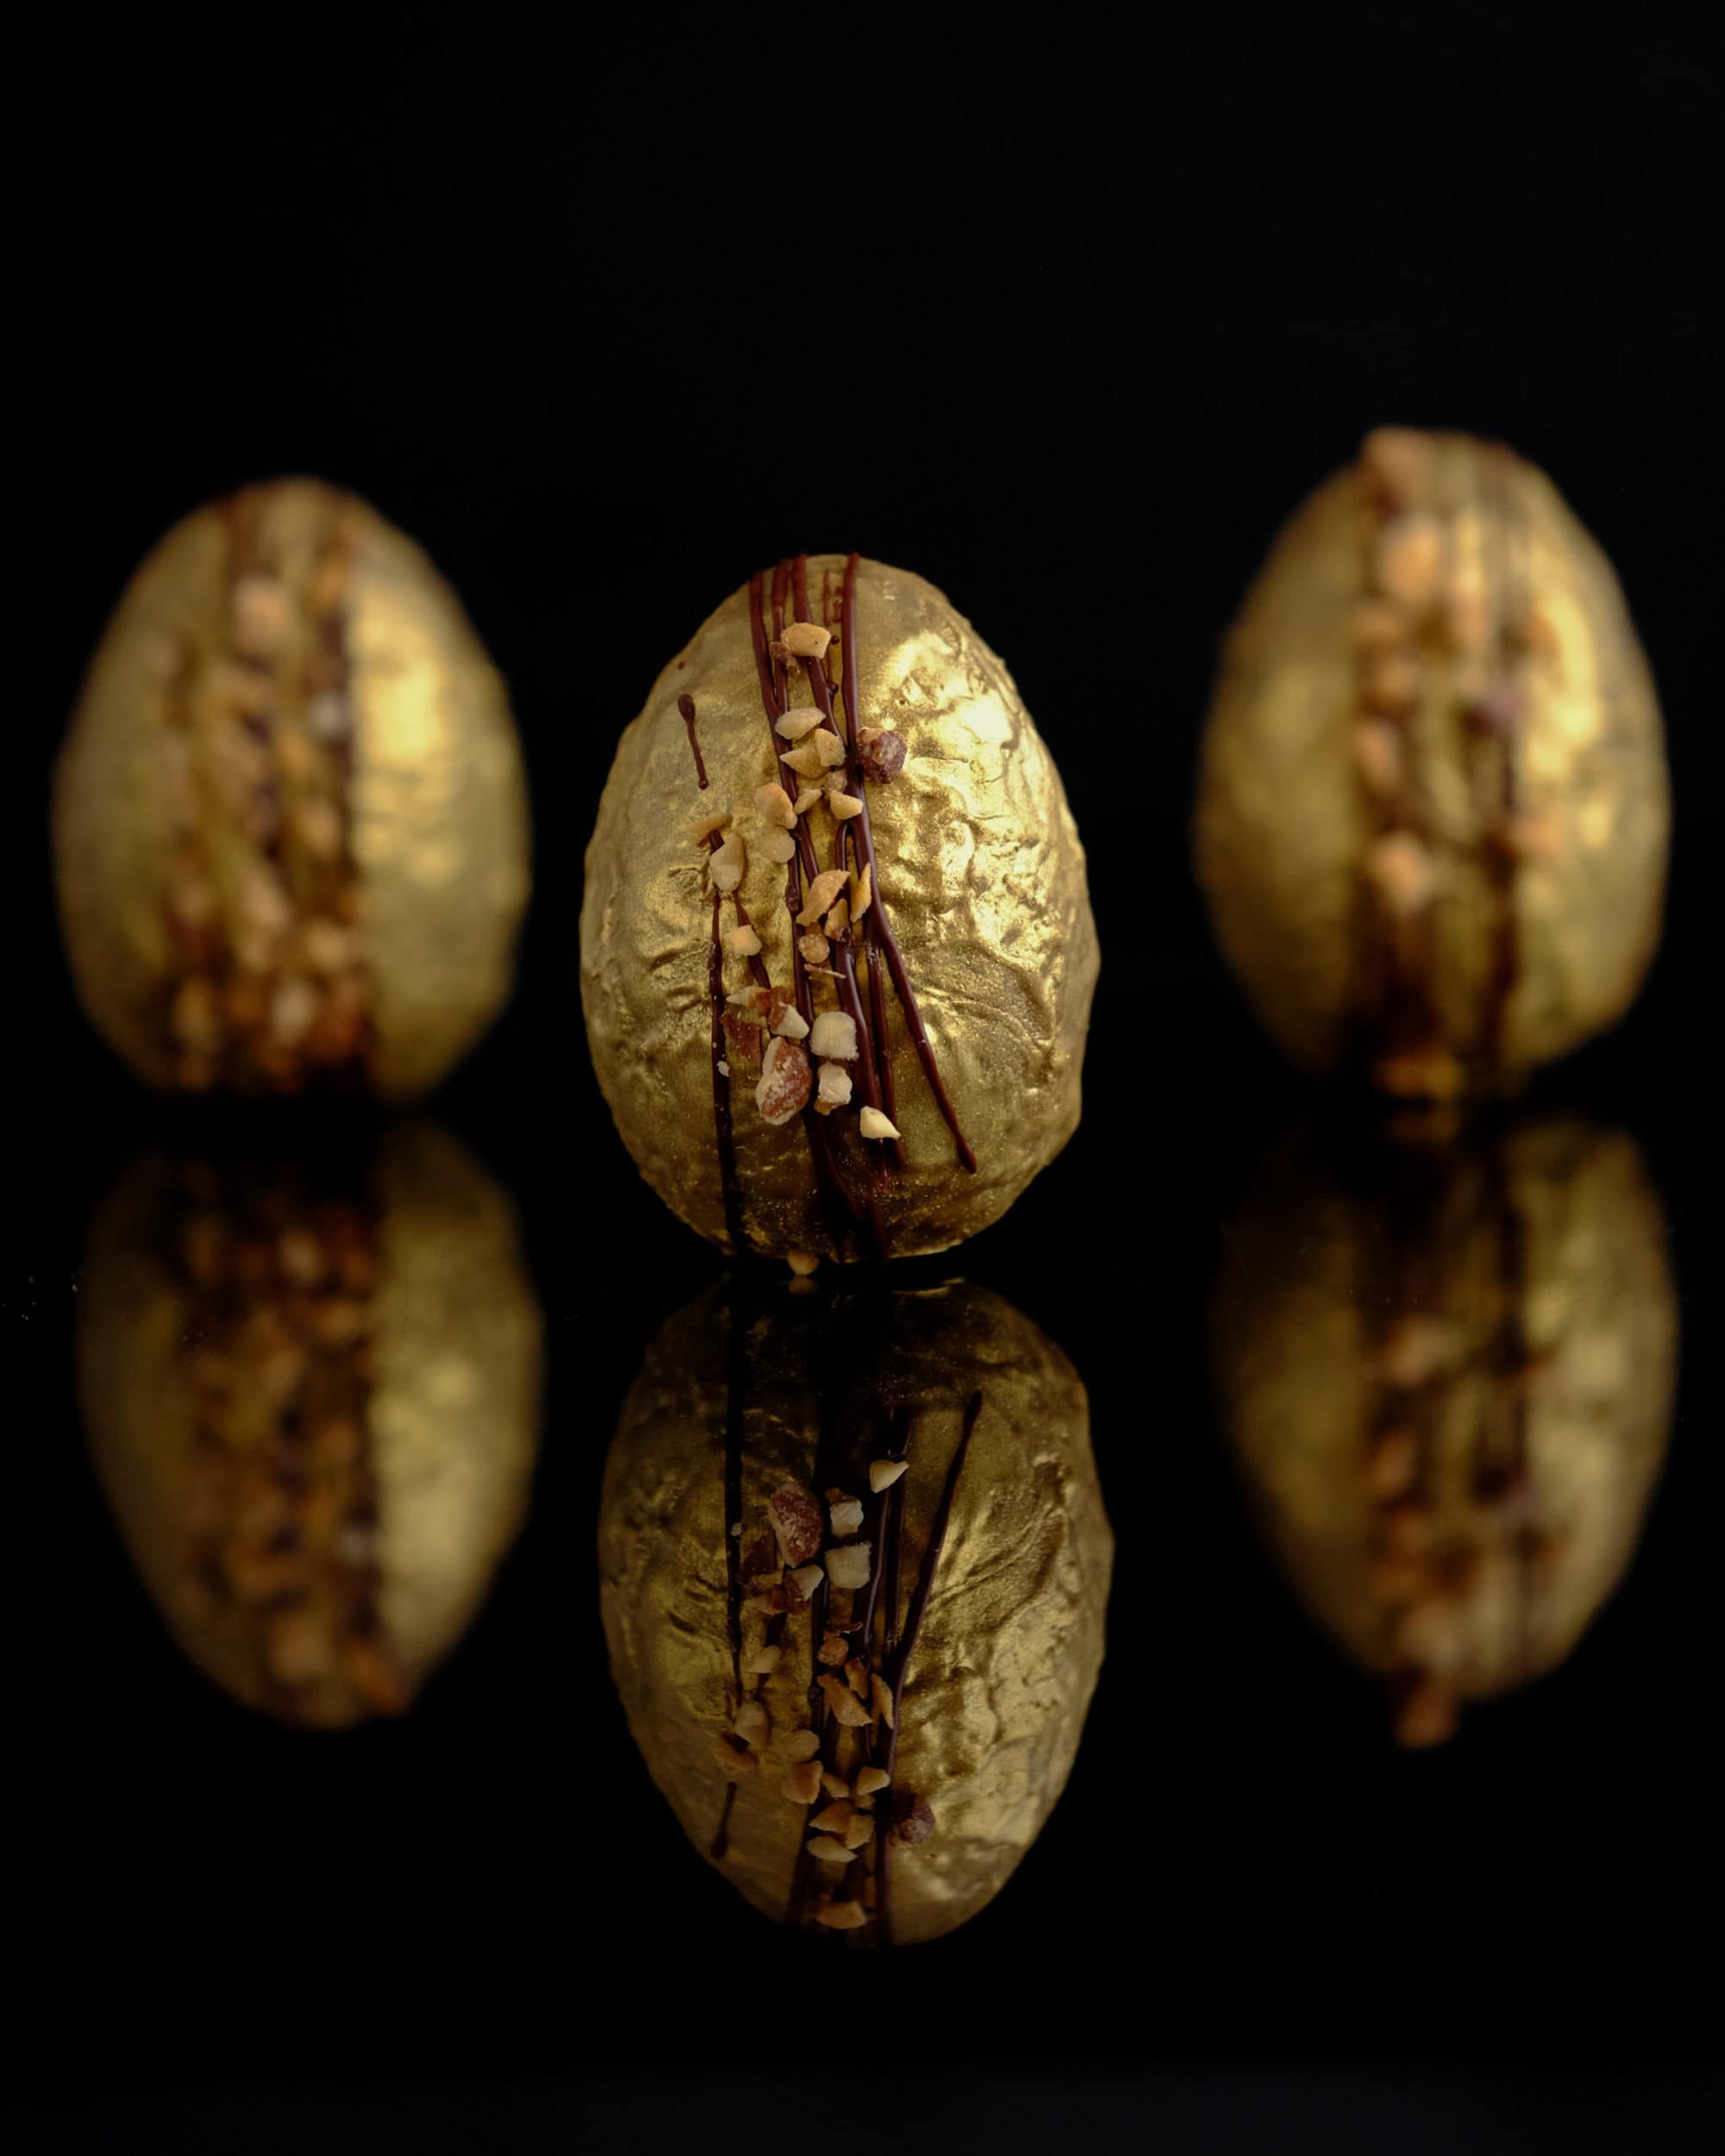
I find the best way to learn is by seeing it done step by step. For that reason, I have 2 FREE livestream classes on how make Easter eggs. One is using naturally coloured cocoa butters to make those speckled eggs you see above and the other is a plain egg that we cover in a different shade of chocolate to decorate it.
You can find the Speckled Egg livestream here and the Golden Egg livestream here. Simply sign up for the class recording and you’ll get it within a few minutes.
How do you make Easter Eggs step by step
If you have never made Easter Eggs before, here are step by step instructions
- Find a professional/polycarbonate egg mould you like. I get most of my moulds from here.
- Decide which shade and brand of chocolate you’d like to use. I make my own chocolate, but a lot of chocolatiers use Callebaut or similar brands.
- Temper your chocolate and pour into the cavity of the moulds to fill.
- Tap to remove air bubbles.
- Wait for the shell to reach you desired thickness – this will take anywhere up to 3-5 mins depending on the thickness you want to achieve and the size of the cavity.
- Invert the mould over a bowl and tap out the excess chocolate using a chocolate scraper.
- Scrape the surface clean of chocolate and place the mould on it’s side to set for 10 minutes and then place down as normal until fully set, about 1 hour or more.
- Once the eggs have contracted from the mould, they are ready to release.
- Warm the base of a pot, put two shells flat side down onto the pan to soften the chocolate edge and then press them together.
- Place on a sheet tray while waiting for the chocolate to set, about 5 mins.
- Any easy finish from here is to dust them with gold powder.
If you prefer to learn via video instructions, click here to check out my free Speckled Egg livestream class.
Can you use a silicone mould to make Easter Eggs?
You sure can, however, the process will be different as silicone is flimsy and professional moulds are hard plastic. With silicone, you will paint the chocolate into the mould, which will result in an uneven and possibly very thin shell. However, if you want to do it for fun, this is a fine way to give it a whirl.
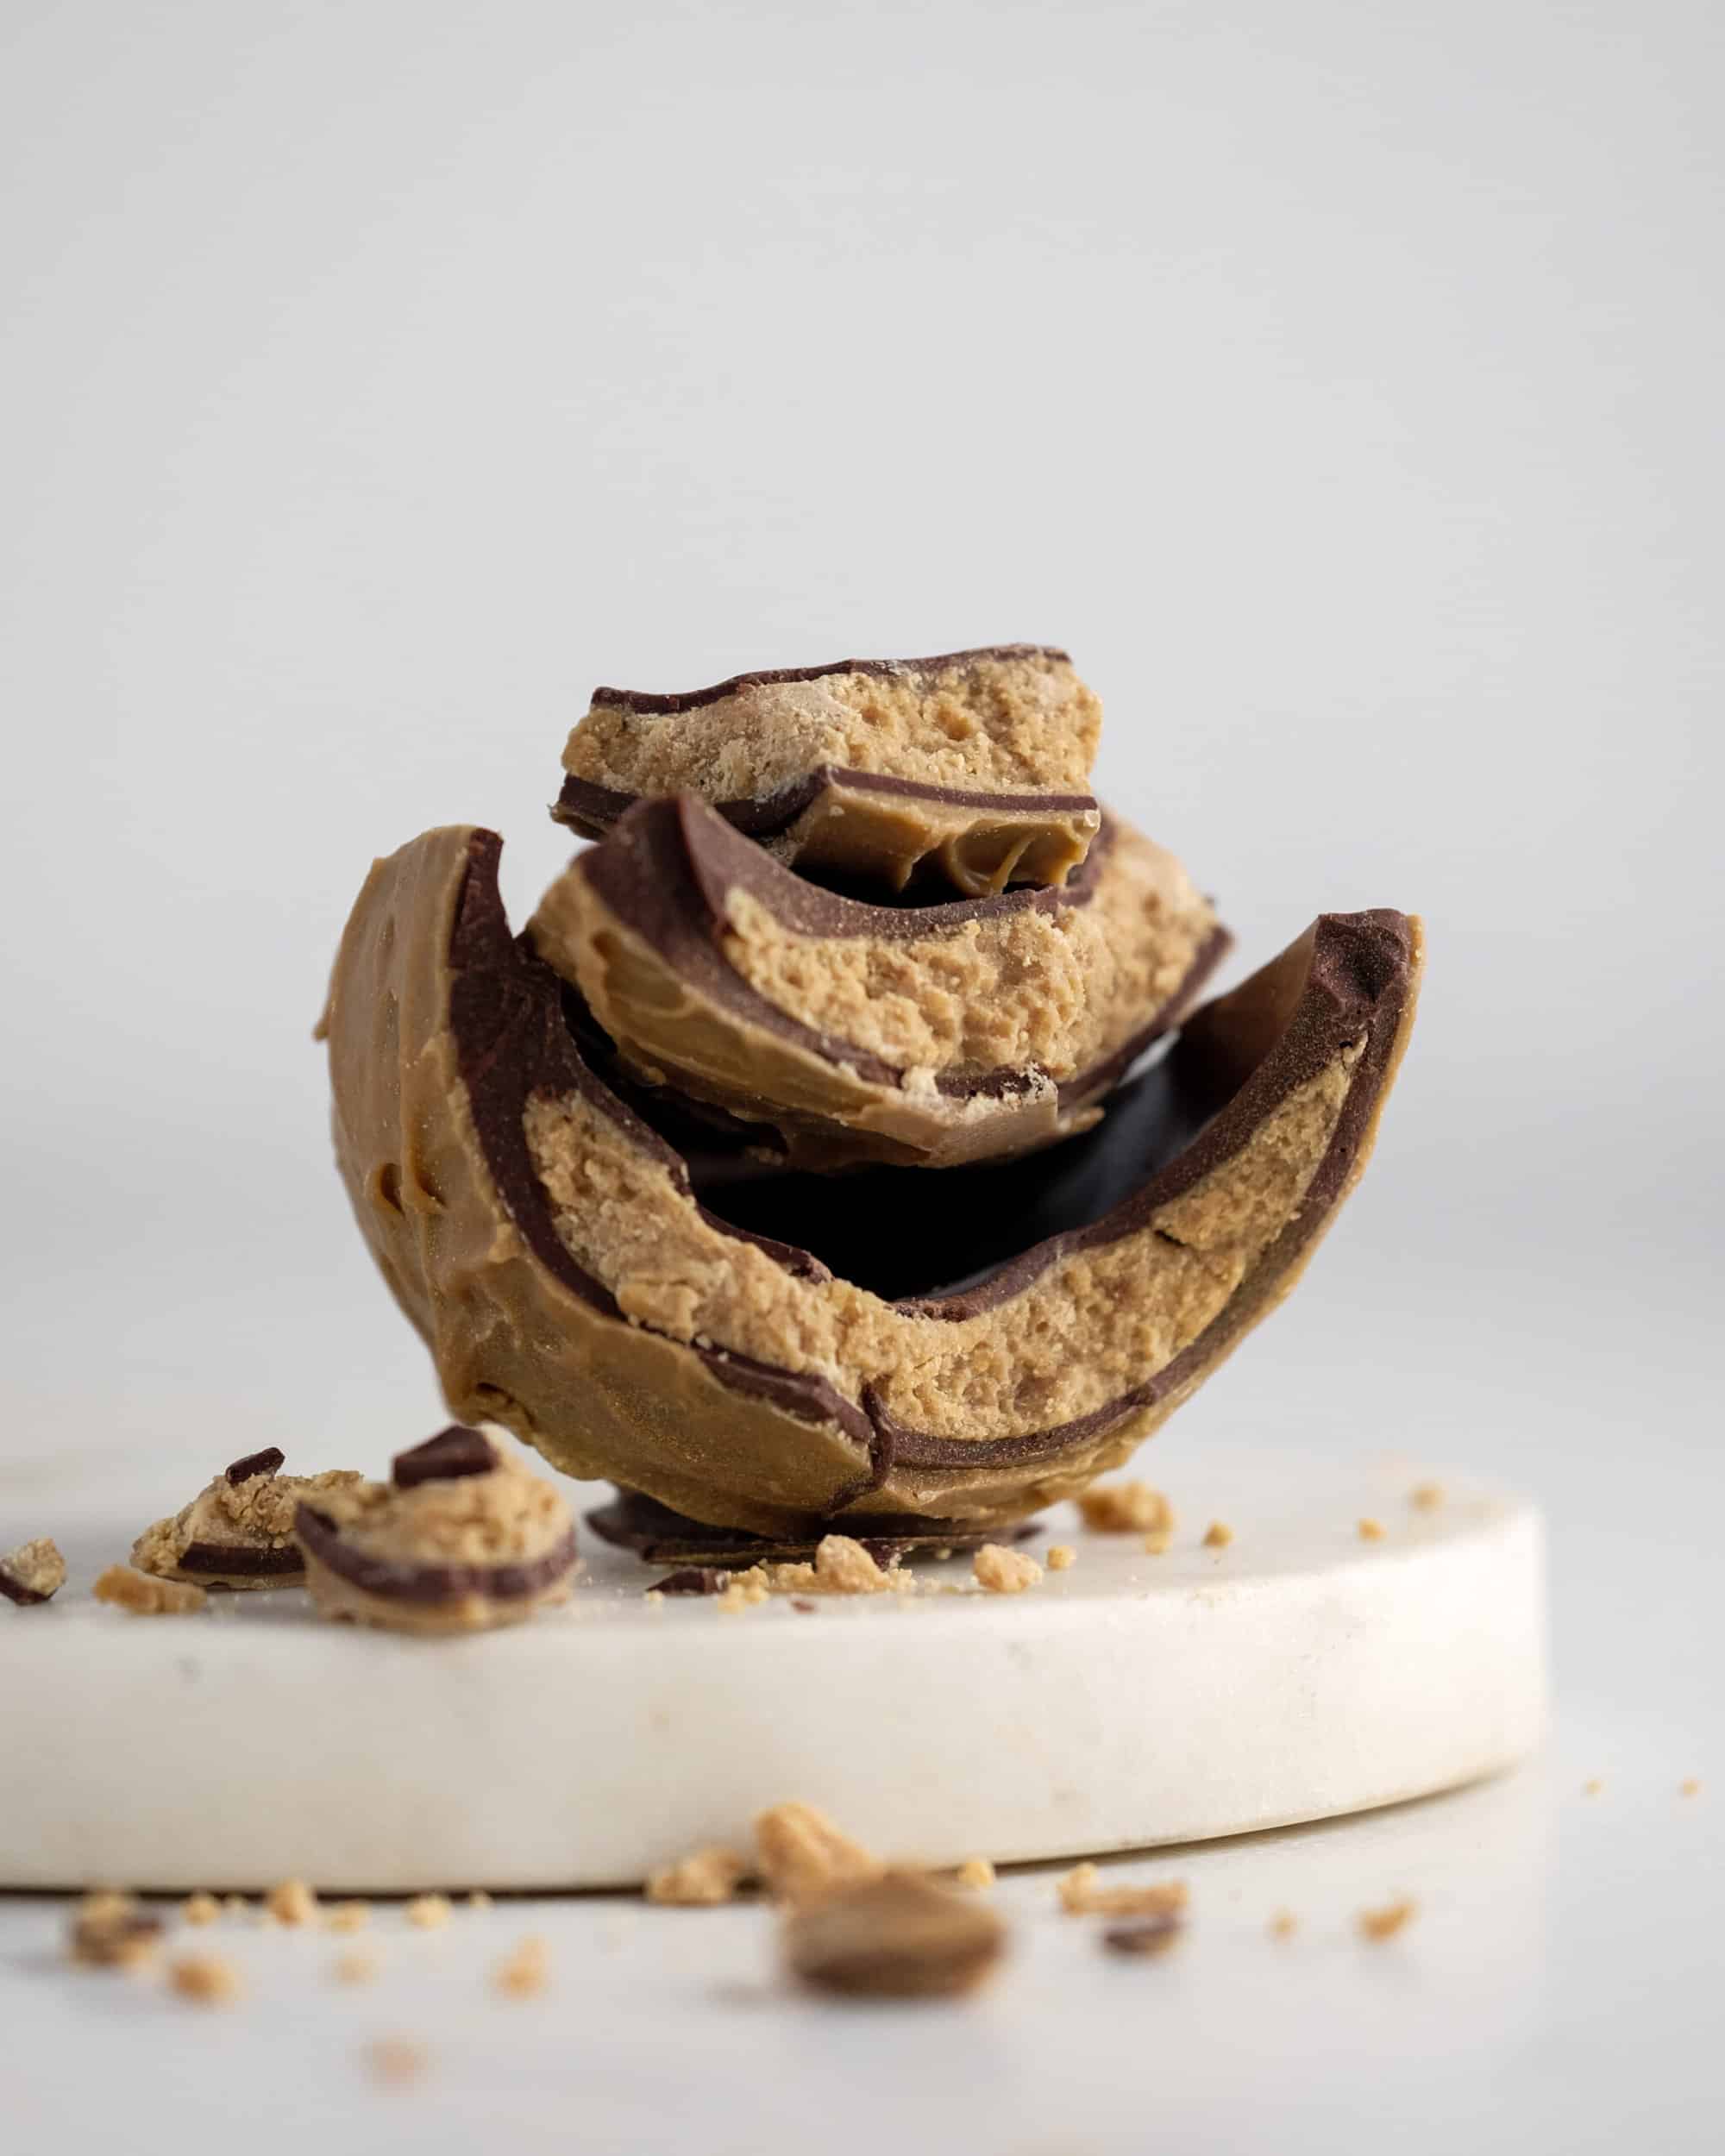
Getting creative with your Easter Eggs
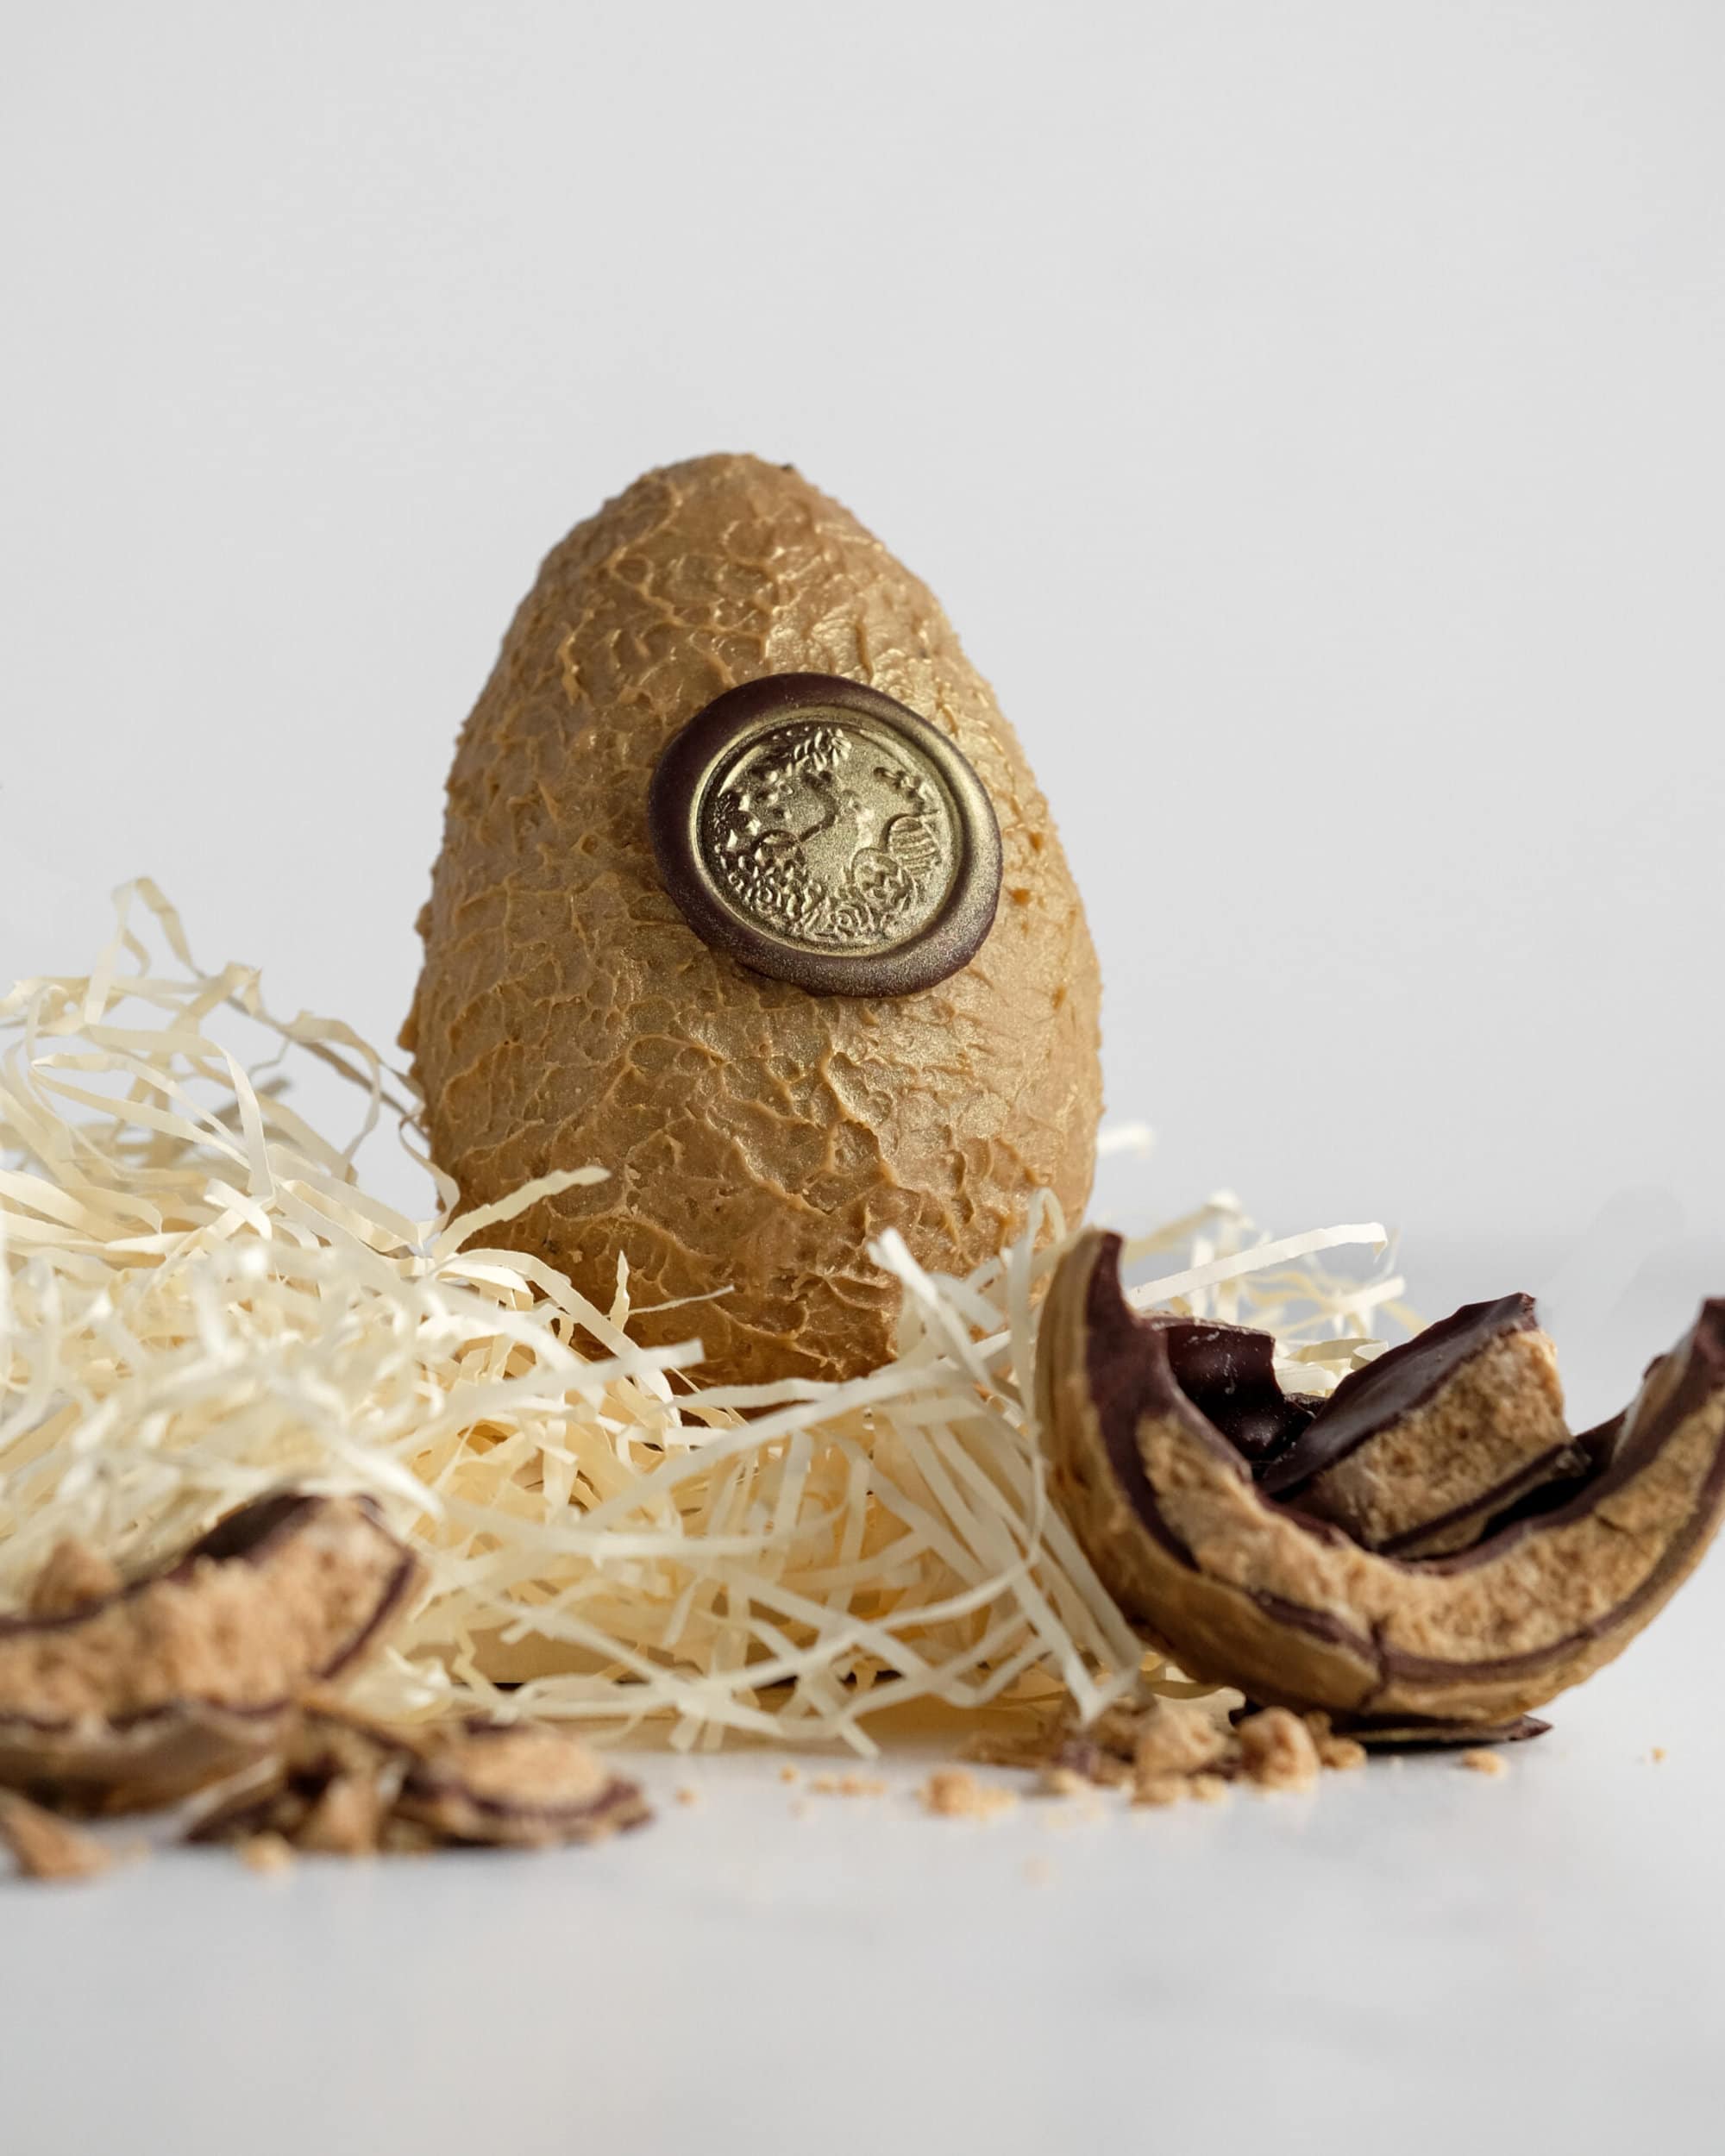
Once you learn how to make the shells, you can get creative with the ways to fill them and finish them. These eggs below are lined with a peanut praline, a thin layer of chocolate and covered in blonde chocolate to finish them. We also applied a chocolate stamp directly to the egg for a festive Easter finish.
You can learn how to make this Easter Egg in my livestream class – Fully Loaded Easter Egg.
FREE Videos: Start watching and learning today
Are you a visual learner? Yeah, me too. These FREE livestream classes cover a wide range of topics within chocolate and dessert making.
Be the first to get free recipes and classes
Join my mailing list and be the first get free recipes and hear about upcoming classes.