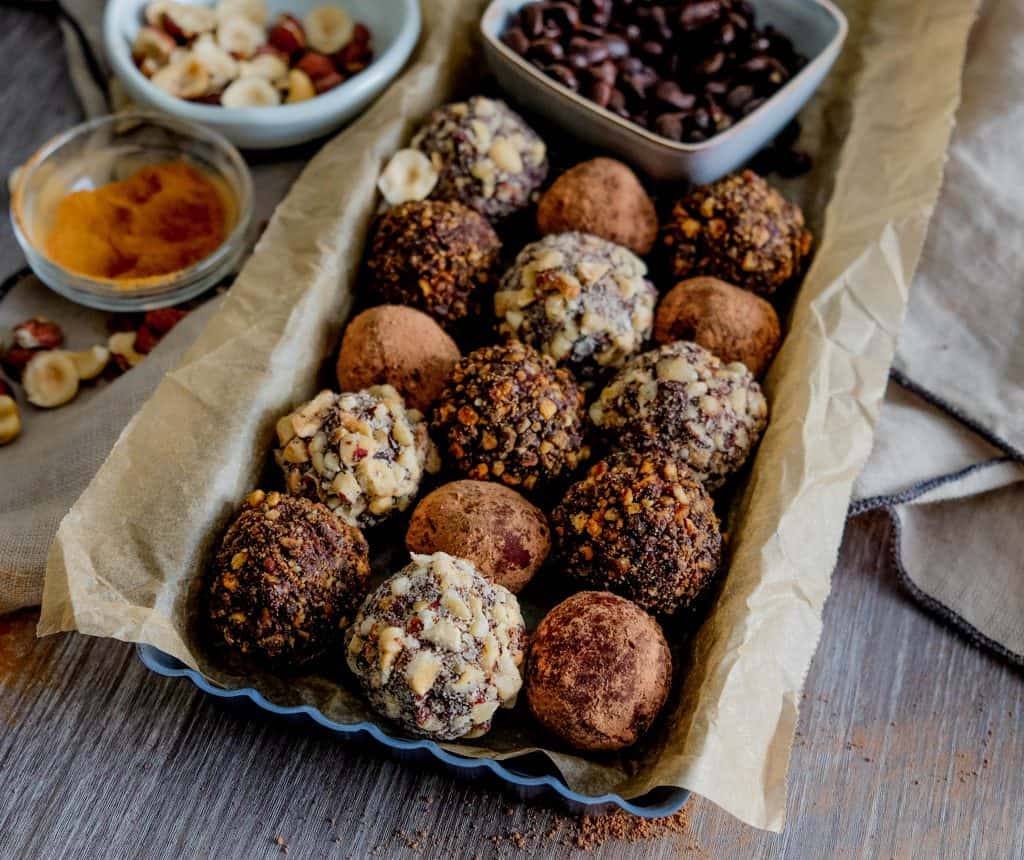
I’ve been really excited about posting this recipe and I have been “sitting on it” since before Christmas. I was testing these at the beginning of December and gifting them to friends, basically anyone I saw got a box. Everyone who tried them, including my two young nephews, loved them! My nephews have refined palates and enjoy the finer tastes in life, such as, coffee, hazelnut and cinnamon joined in chocolatey harmony.
These really are truly the easiest truffles to make, just throw it all in your Vitamix and it’s good to go… almost….follow the recipe though. 🙂
You can easily replace the hazelnut butter for any nut or seed butter, the coffee for any liquid, including just water, and trade the cinnamon out for something you love and that combines well with your chosen nut/seed butter. Versatility is the keyword here, my friends.
70g ( ¼ cup ) hazelnut butter
200g ( 1 cup ) dark roast coffee, hot/warm
150g ( 4 oz ) cacao paste, baking chocolate or your favourite chocolate – shaved
100g ( ½ cup ) coconut sugar
½ tsp cinnamon
½ tsp vanilla powder
1 tsp tamari ( optional for added depth )
Method
-
-
- It’s important that the coffee is warm or hot and the chocolate is shaved before you start this recipe.
-
- The liquid being hot and the chocolate being shaved will mean that the mixture melts very quickly and can properly emulsify in the blender.
-
- Combine all ingredients in a high speed blender and process, starting on low-medium and then increase to full power until all ingredients are smooth and creamy.
-
- Pour the contents into a large bowl so the ganache can set quickly. If the bowl is tall and small, it will take longer for the mix to set. Create as much surface area as possible for faster setting.
-
- Leave the mix uncovered at room temp until it’s completely cooled. Wrap with plastic wrap and place in the fridge for a few hours to set completely.
-
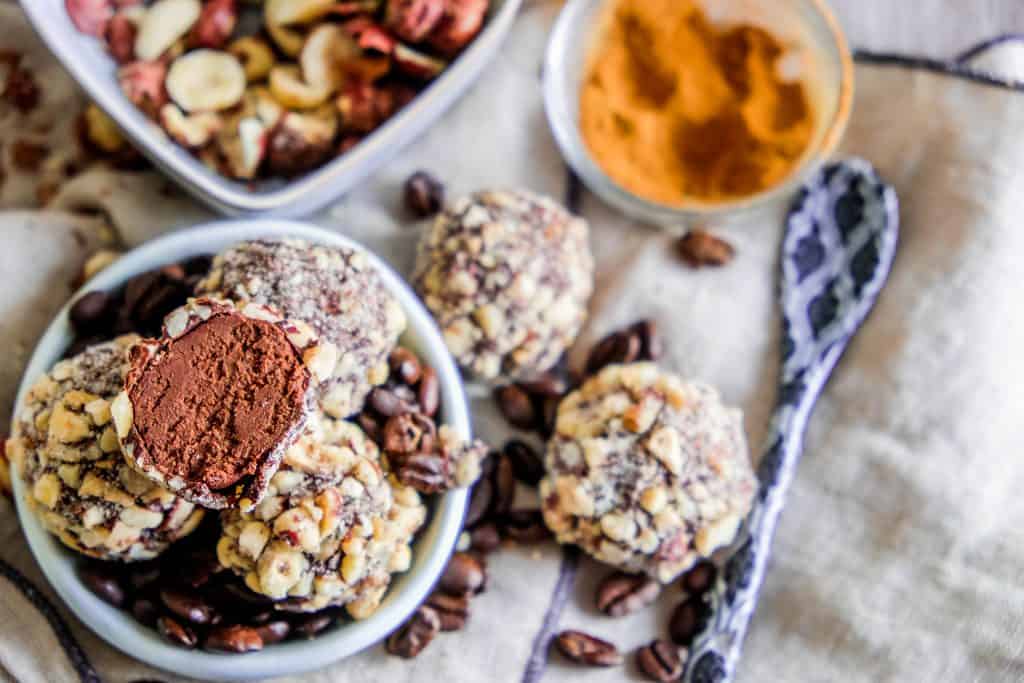
- Once set, dust your hands with a little cacao powder and roll the mix into small balls.
-
- Don’t use too much cacao powder or the chocolate won’t stick to them when you go to enrobe them. Alternatively, you can simply dust them in cacao and call it a day. As seen in the image at the top of this page.
-
- To enrobe them, place them back in the fridge to set up again while you get the chocolate and nuts ready. You can garnish them with candied nuts or activated nuts, whichever you prefer.
-
- Here’s a video on how to enrobe using cacao paste, but it’s the same for using any type of chocolate. The benefit of using paste is that it’s less expensive than buying chocolate bars and it doesn’t contain any sweeteners, it’s 100% cacao.
-
FREE Videos: Start watching and learning today
Are you a visual learner? Yeah, me too. If I can’t be there in person, I love a video. This FREE mini series covers everything you need to know in order to start making professional quality chocolate at home with ease.
Want to know when a new recipe is posted?
You’re busy. I know this. You can’t keep checking my site for new recipes. Sign up for my newsletter and I’ll send you a new recipe every week. Boom!