For the longest time, I have wanted to recreate the classic Ferrero Rocher Truffle. If you have ever had one, you know it is pretty amazing! It’s the layers––most of all that one thin, crisp layer of biscuit surrounding the chocolate ganache! How’d they do that?
I haven’t gotten the raw version quite right yet. But, out of my trials and testing I came up with these delicious Palle Tortas (literally translated into balls of cake, or cake balls).
I’m still perfecting the truffles and won’t give up, so don’t you worry!
The Palle Torta recipe I am sharing with you today is not quite a Ferrero Rocher, but you will definitely enjoy it while I keep working on the truffle!
As I said before, the thing about the Ferrero Rocher Truffle is the layers. Each layer adds depth and character to the finished product, for that one perfect bite (or two, if you’re lucky).
Chad Sarno once said something to me that I have never forgotten and have never gone against since the day he said it …
“Never add something to a dish that is not contributing.”
- I was making some raw brownies that were like little Debbie’s… the kind I used to eat as a kid. As I was topping them with walnuts, he said —
“When I bite into a brownie, I always want to get hit with flavour. When I get a walnut, it tastes like nothing.”
-
- Point well taken, Chad!
That’s where my kinship for developing layers upon layers of complementary flavours and textures grew. It has kept me soaring and excited about what is possible.
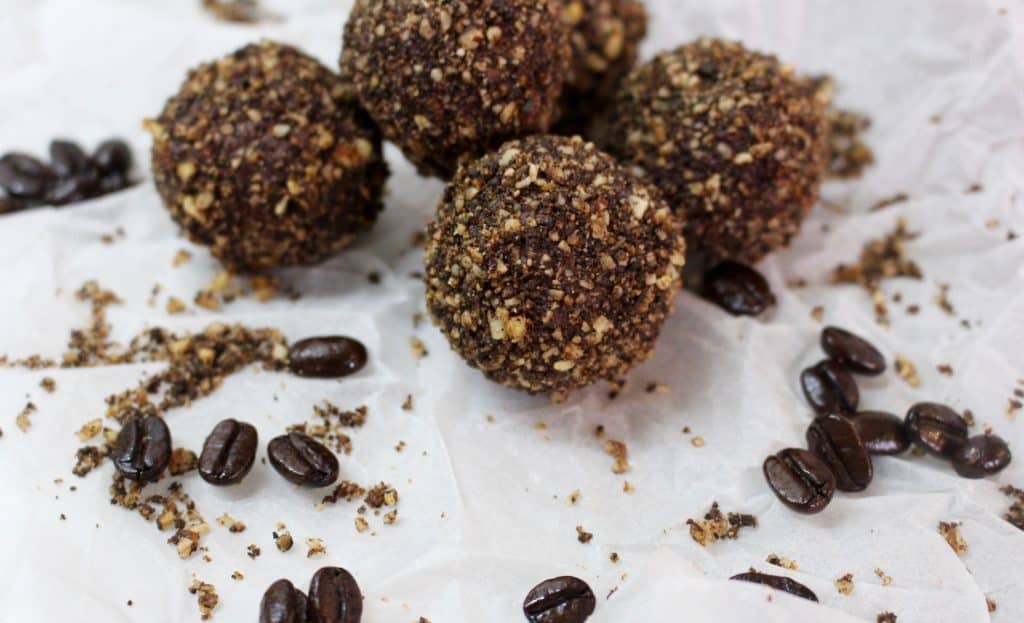
In this recipe, instead of coating the truffles in chopped hazelnuts, I’ve candied them and added in some ground coffee to keep those flavours consistent throughout the whole experience. Enjoy!

Candied Hazelnuts
(make these first as they need to dehydrate)
100g / 1 1/2 cups hazelnuts, soaked 8 hours, strained and rinsed
75g / 1/4 cup + 1 tbsp coconut sugar, powdered (in vitamix or coffee grinder)
30g / 1/4 cup ground coffee
5g / 2 tsp tamari
Method
- Process all ingredients in the food processor just to break the nuts down.
- Transfer to a teflex sheet and dry 10 hours, flip onto a mesh tray and finish drying for another 4-6 hours or until crisp.
- Once dry, process them in the food processor to a crumble consistency.
- You’ll be using these to enrobe the truffles. Allow to cool before using. See below.
- If your are not using these right away, they can be stored in an airtight container at room temp for several months.
Hazelnut Espresso Palle Torta
Dry
225g / 3 1/4 cups hazelnuts, soaked and dehydrated
150g / 2 cups oat flour (rolled oats ground into flour in a high speed blender or coffee grinder)
50g / 1/2 cup lucuma (optional – if not using increase oats by 25g (1/4 cup) and coconut sugar by 25g (1/4 cup)
200g / 1 cup coconut sugar, powdered (in high speed blender or coffee grinder)
5g / 1/2 tbsp psyllium husk
5 drops coffee Medicine Flower Extract (optional, but so good)
15g / 1 tbsp espresso coffee beans, finely ground
3g / 2 tsp vanilla powder
Wet
50g / 1/3 cup maple syrup
35g / 1/3 cup coconut oil, melted
50g / 1/2 cup coffee or water, or as needed to bind mixture
Method
- In a food processor, blend the dry ingredients until the hazelnuts are broken down into a rough crumb.
- Pour in the wet ingredients and pulse to combine well. The mix should come together and form a ball in the machine.
- Roll the mix into balls and place on a greaseproof paper lined sheet and into the fridge to set.
- Once they are firm, about 15 minutes, follow the instructions below to “Enrobe” them.
To Enrobe
Using pre-made chocolate
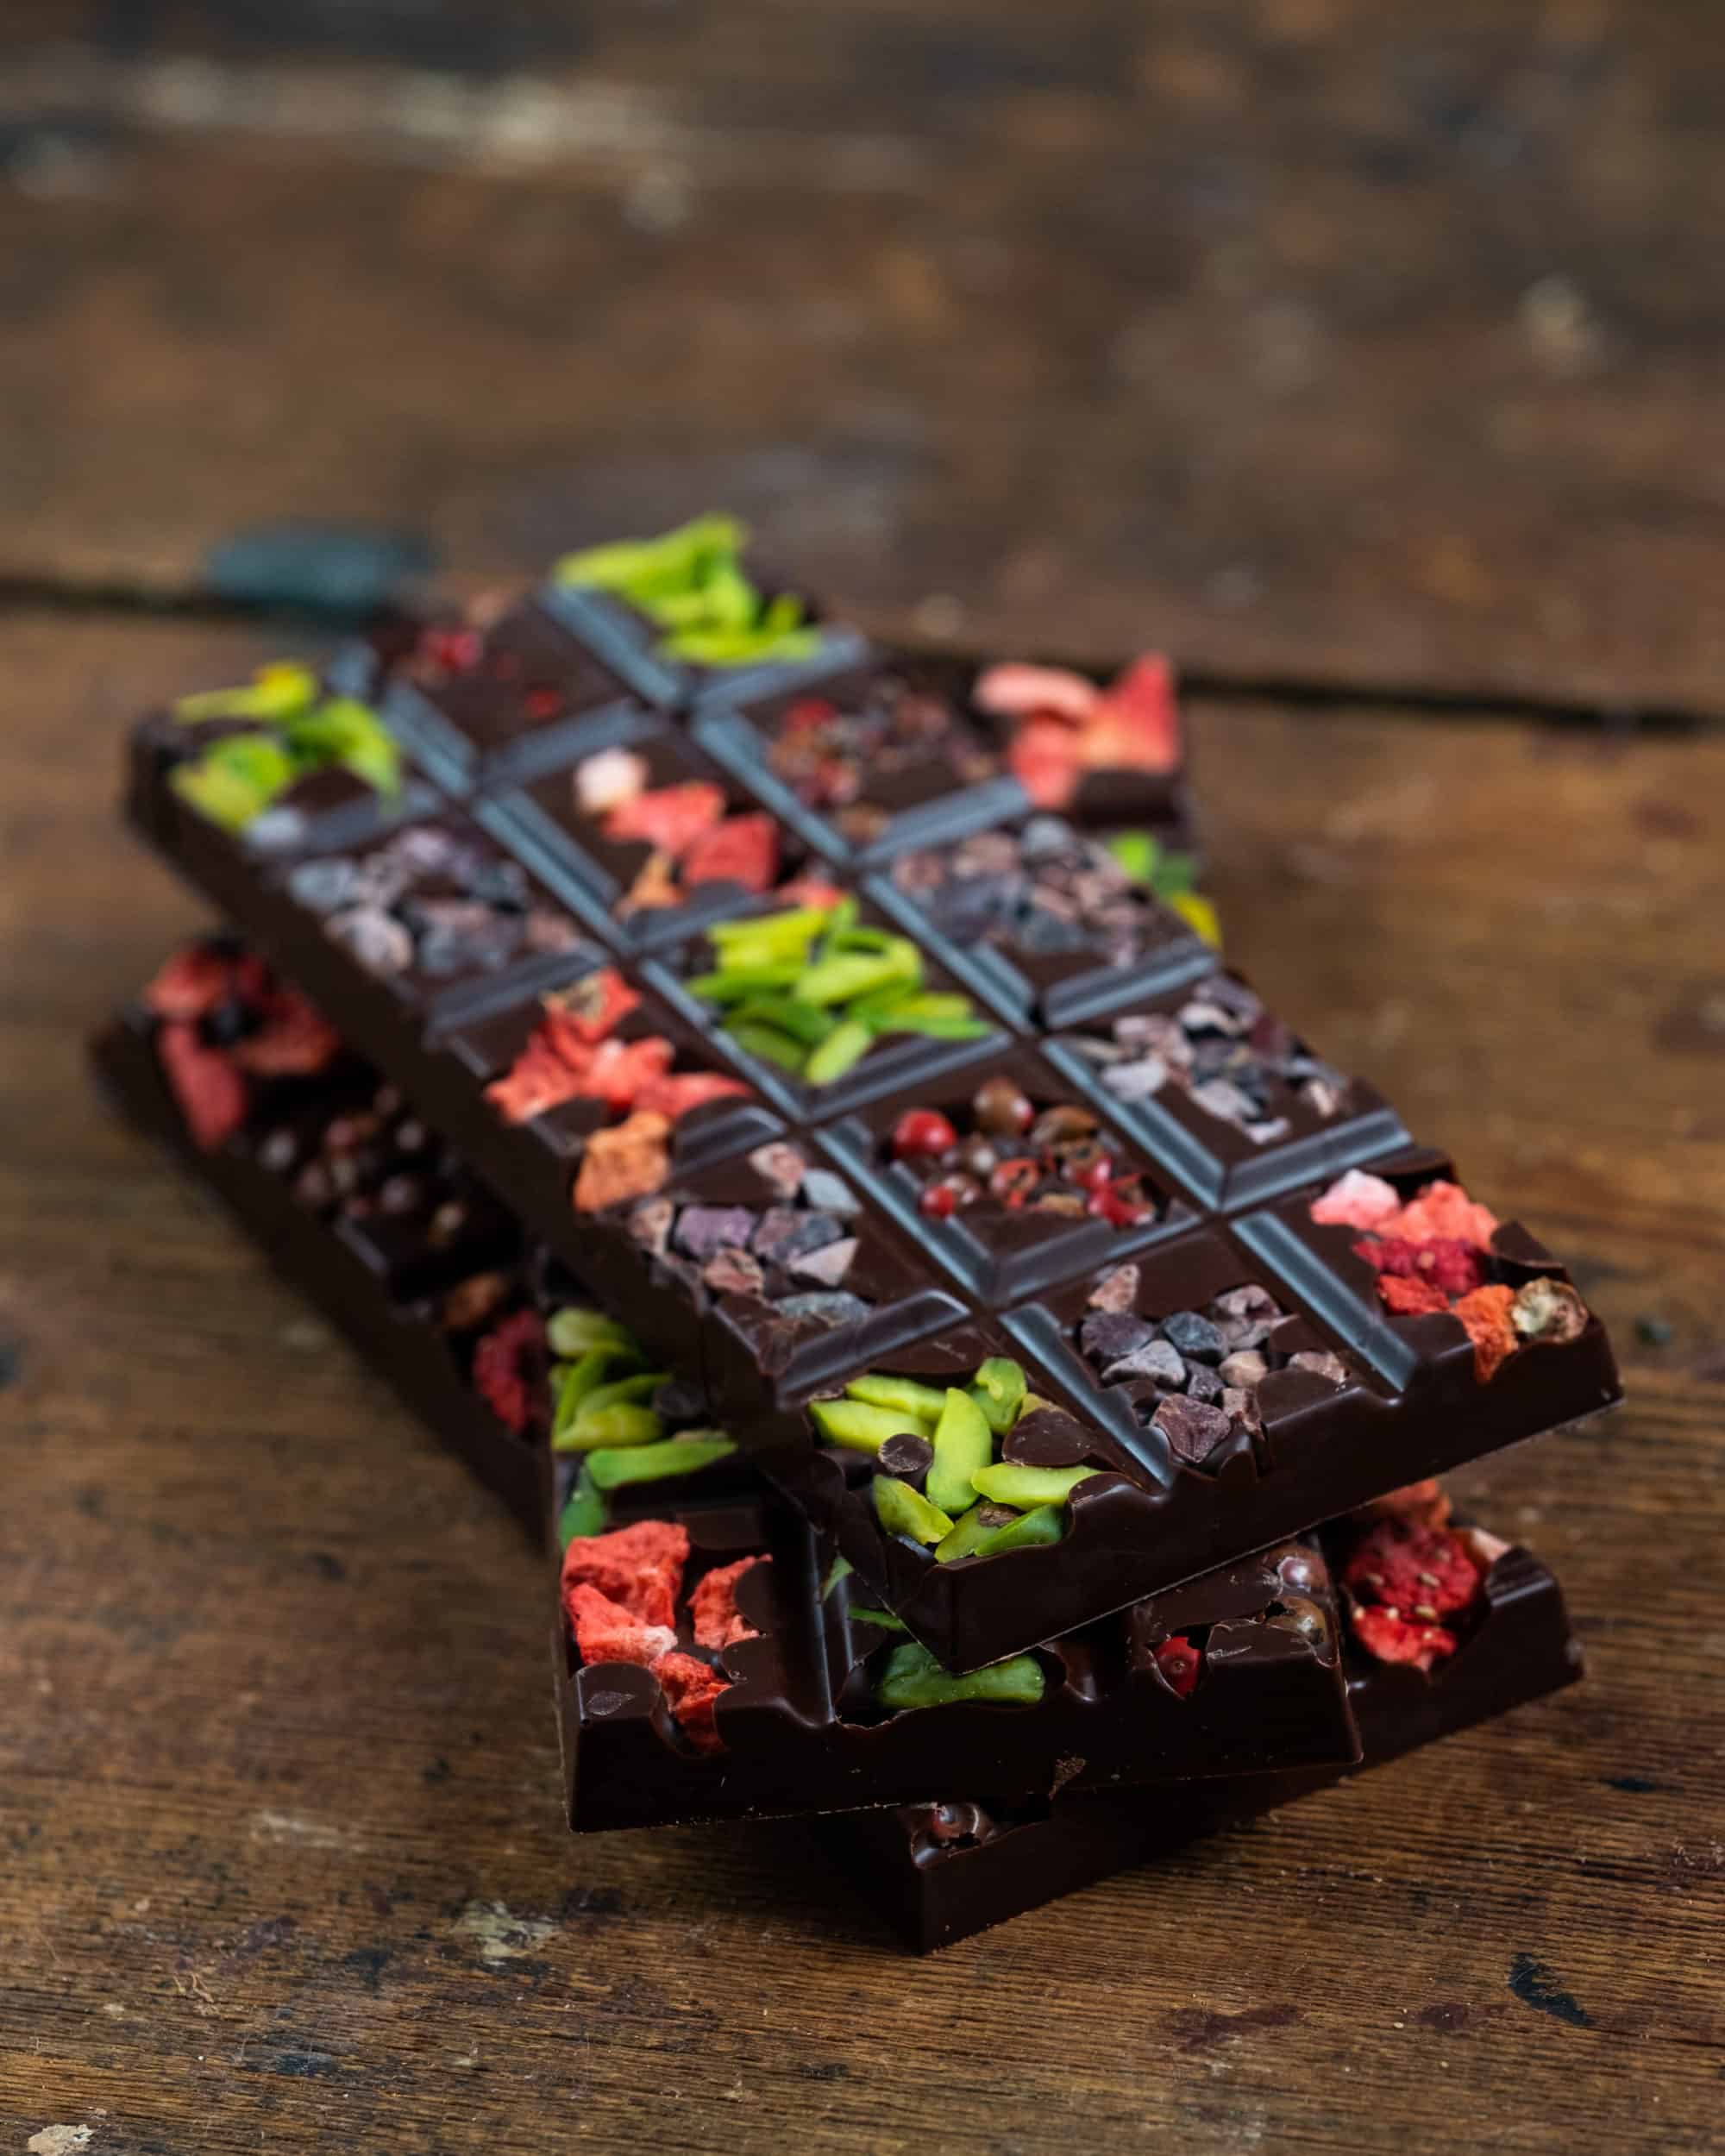
- Choose a chocolate that you enjoy. Health-wise, the darker, the better. I even use 100% cacao paste sometimes as the filling is so sweet, the thin chocolate shell doesn’t need to be.
- Chop it up into small pieces ––the smaller they are, the faster they will melt. Pop 1/2 of the pieces into a stainless steel mixing bowl.
- Fill a sauce pot about 1 inch with water.
- Put the bowl of chocolate on top; the bowl should not touch the water or it can burn the chocolate.
- Bring water to a simmer and stir the chocolate constantly, over a low simmer, until it has melted evenly.
- Once the chocolate is melted, remove from the bowl from on top of the pot and add the remaining 1/2 of the chocolate you chopped up.
- Stir that chocolate through until it’s all melted.
- Have the candied hazelnut crumb ready and in a ramekin or something easy to grab from.
- The truffles shouldn’t be straight out of the freezer–– if they have been frozen, allow to come to cool room temp before enrobing. If they are coming right from the fridge, let them sit at room temp for 10-15 mins before enrobing.
- Set yourself up so that the hazelnut centers are set to your left (reverse if you are left-handed). Put a fork and your bowl of melted chocolate in front of you, and a tray lined with greaseproof or a teflex lined dehydrator tray is set to your right.
- Drop one truffle into the bowl of chocolate.
- Use your fork to push it into the chocolate and then fish it out––avoid dragging it up the side of the bowl.
- Tap the fork on the side of the bowl and swipe the bottom of the fork along the edge of the bowl to remove excess chocolate.
- For aesthetic reasons, take your time to ensure you have removed as much excess as possible, otherwise you will end up with a puddle under your finished truffle.
- Drop your enrobed truffle into the bowl of espresso hazelnut crumb and coat fully.
- Lift the chocolate out of the crumb, shake off the excess and place on the empty tray to your right.
- If your chocolate starts to get too thick while you are working with it, simply give it a tiny bit of heat on the double boiler again as before, just to loosen it up.
- Once all chocolates are enrobed and garnished, set the tray in the fridge for about 5 minutes and then allow to set the remainder of the way at room temp.
FREE Videos: Start watching and learning today
Are you a visual learner? Yeah, me too. If I can’t be there in person, I love a video. This FREE mini series covers everything you need to know in order to start making professional quality chocolate at home with ease.
Want to know when a new recipe is posted?
You’re busy. I know this. You can’t keep checking my site for new recipes. Sign up for my newsletter and I’ll send you a new recipe every week. Boom!