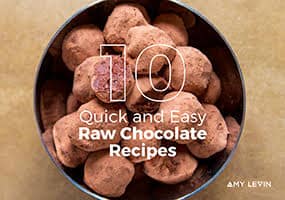
This collection of livestream classes will give you a deep dive into all aspects of making all natural, dairy free, refined sugar free bonbons.
If you have learned with me previously, your foundation of knowledge built from focussing on the fundamental techniques and methods of chocolate work will allow you to have fun with the creativity of making bonbons.
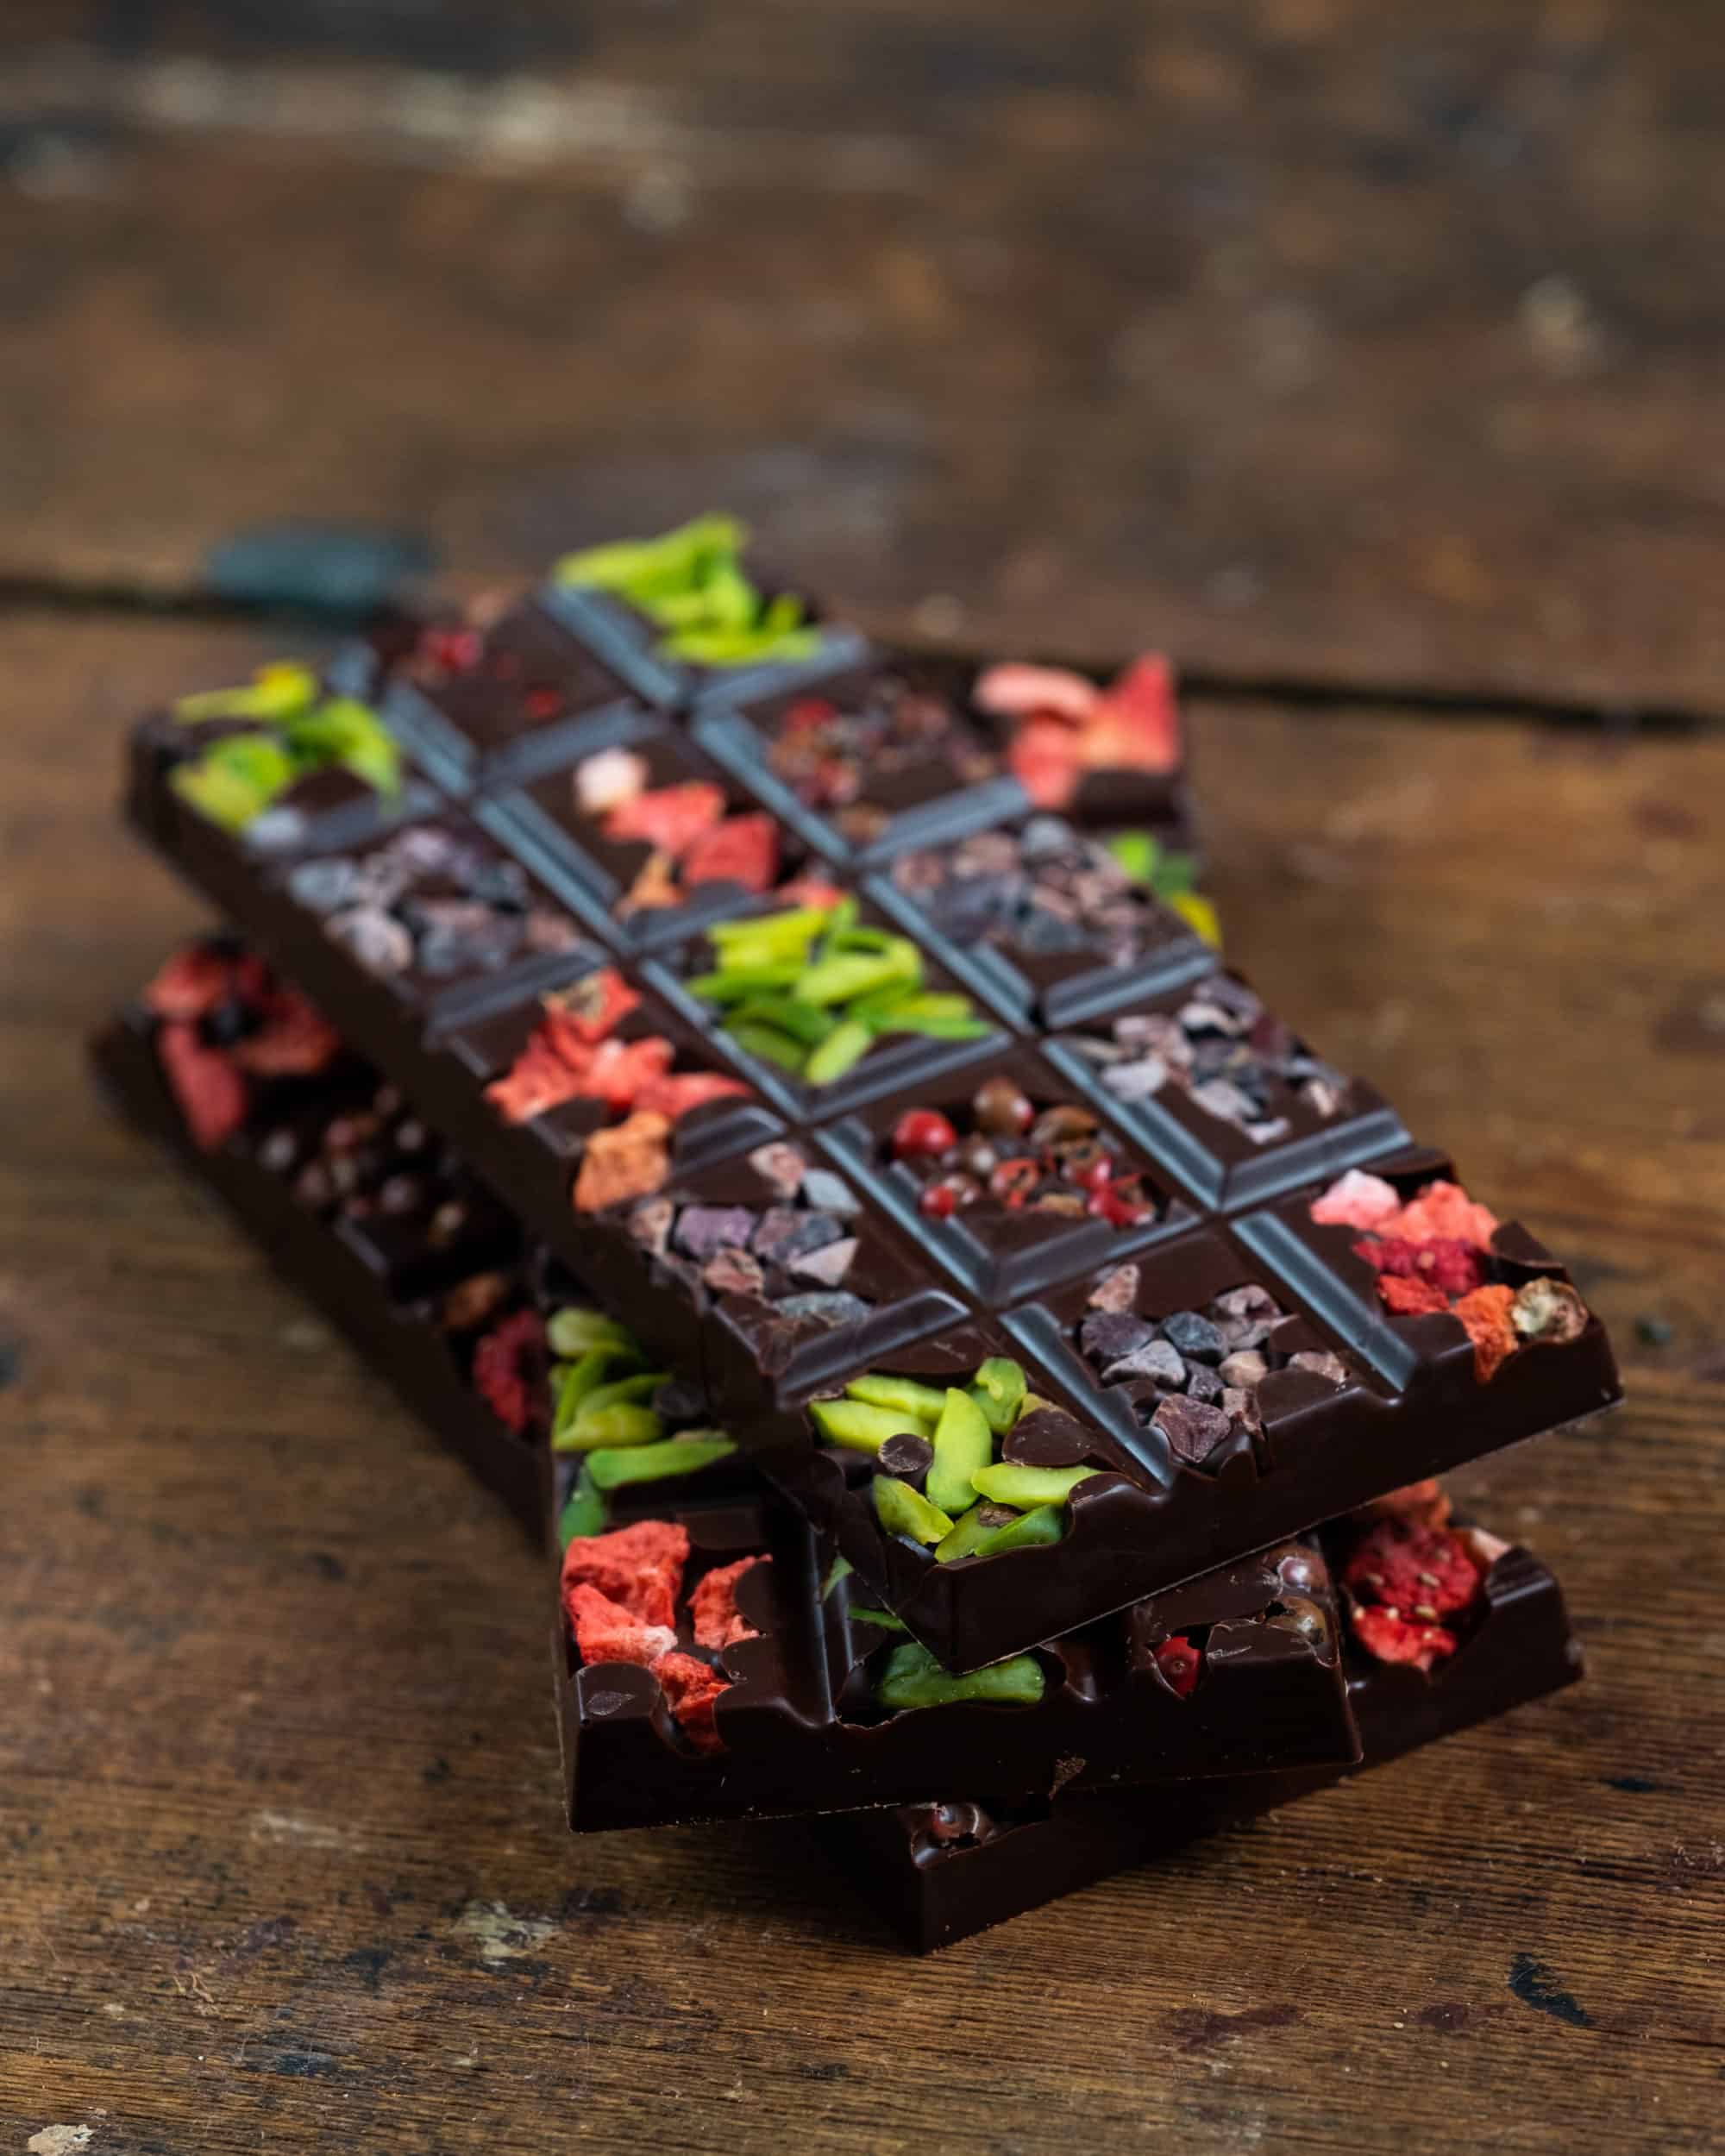
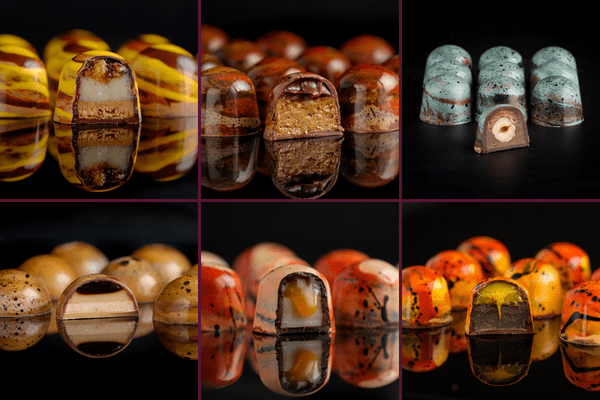
My Signature Bonbons
If you have been wanting to express yourself through your chocolate making, bonbons are the perfect canvas for that expression. Artistically speaking, the colouring of the moulds is a great place to your visions come to reality. But then, there’s the internal layering of different flavours, textures and components that can hold your unique perspective and communicate your feelings, thoughts and ideas.
By learning and practicing my tried and tested recipes, you will build the practical, hands on experience needed to execute your own ideas. You’ll learn so many different base components and how versatile they are, that you will have significant wealth of knowledge to draw on in creating your own, unique bonbons.
Banoffee Bonbon
Caramelised Bananas The best feature of any banoffee pie is the bananas and in this bonbon we are making caramelised bananas using a slow process which also reduced their natural liquid content in order to extent the overall longevity of this finished chocolate. We keep the bananas somewhat chunky in order to preserve their texture. No mushy banana here!
Silky Vanilla Bean White Chocolate Ganache In place of the traditional whipped cream we’re making a silky smooth vanilla bean ganache for the creamy element of this bonbon. This ganache brings the bonbon together into that Banoffee Pie feel.
Cinnamon Granola Praline I tested some different options for this biscuit element, but the a rich cinnamon granola took 1st place for me. We get a lovely little crisp texture from it which echoes the crispness of the biscuit crust in a traditional Banoffee Pie.
Gingerbread Bonbon
Molasses Clove Chocolate Caramel This is the recipe that inspired the creation of this bonbon. It’s so good and reminded me of gingerbread, but just needed some other layers to make it come to life.
Walnut Praline We’re making a walnut praline using the stone grinder in this class. However, walnuts are so soft that you can easily make them into a nice butter in your food processor and then make a praline by mixing the walnut butter with chocolate of your choice. So, either way, I got you covered!
Gingerbread Praline This element, mixed with the molasses caramel, make this bonbon gingerbread heaven! In one bite you have all the flavours, spices, sweetness and texture of gingerbread. This is one of my best selling bonbons for a good reason; it’s incredible!
Tiramisu Bonbon
Coffee Caramel An integral part of Tiramisu is coffee and, as coffee can be very overpowering to softer flavours, we need to be careful how strong this caramel is and how much we add to the bonbon to get the right balance between all layers. We’ll go over this more in class. This caramel is a vegan cooked caramel and it’s very versatile as a base recipe for your other caramel needs.
Rum Ganache Tiramisu would not be complete without a rum element. For this layer I decided to go with a silky smooth, rum ganache. It’s a great consistency against the other elements and allows the rum flavour to shine through without it getting muddled up with other flavours. You can choose to either use a dark rum that you like or, you could make it a low alcohol bonbon by using Medicine Flower’s Rum Extract.
Pipe-able Vanilla Cake This is a new and exciting element in my bonbon work. No need to cut loads of little discs and struggle to get each bonbon filled just right so the disc doesn’t cause problems. With this pipe-able vanilla cake, you can just pipe it on to your hearts content. It’ll create an even, flat layer with no difficulties. This will speed up your production massively and opens up loads of possibility for other types of pipe-able cake and brownie layers.
Almond Brownie Bonbon
Roasted Almond Praline When creating this bonbon, I wanted to mimic a caramel brownie type vibe, but give it an extended shelf life by not using anything perishable. After testing a few different variations, I landed on this rich and caramely roasted almond praline made in the stone grinder.
If you’re not using a stone grinder, I’ll give you an alternative method to making this praline.
Moist Brownie Disc The importance of a long shelf life carries through every element of this bonbon and, in the brownie element, I needed to remove the water, but retain the moist consistency of the brownie. After testing a few different ways of accomplishing this, I landed on the one that kept the balanced flavour and consistency of the brownie without going over the top using dates or nut butters. This brownie element is so good on its own, but also pairs amazingly well with the roasted almond praline.
Texture The simple addition of a well roasted almond and dash of sea salt flakes was all that was needed to make this bonbon sing! I want to emphasise ‘well roasted’ as almonds that you buy pre roasted are not well roasted. We want it to be dark, but not burnt (obvs) and that’s a fine balance. If you hit it under the dark mark, it’ll lack flavour. If you go over, it’ll be burnt. I’ll teach you how to hit the ‘dark mark’ every time.
Coffee Date Cardamom Bonbon
Signature Bonbons The flavour pairing for this bonbon came from my time spent in the Middle East where a latte can often be spiced with cardamom and where dates are a plentiful fruit. The flavour profile of this bonbon is one of my all time favs.
Stone Ground Coffee Hazelnut Praline For this class, we’ll be making the praline paste in the stone grinder so we have a super smooth, silky praline. There are many benefits to using the grinder to make your praline pastes, but the best one is that you can add months to the shelf life of your product by making it in the grinder and not using any liquid sweeteners. For those of you not using a grinder yet, I’ll give you alternatives in class.
Date & Cardamom ‘Jam’ When making bonbons to sell, we want the shelf life to be as long as possible and, in order to do that, we need to replace water / liquids wherever possible. In class I’ll show you how I make this ‘jam’ for my bonbons and go through some alternatives, in case you’d prefer to use water. This element of the bonbon is crucial and helps to create a fudgey mouthfeel in every bite.
Maple Pecan Bonbon
Maple Caramel The first layer in this bonbon is a maple caramel. It’s important to get the consistency right on this caramel so that it’s soft and gooey, but also firm enough to hold the pecan praline layer without being ‘crushed’ by it. In terms of flavour combining, maple and pecan are best friends when paired correctly.
Pecan Praline Pralines are easy to make at home or work, and can be done in a few different ways depending on the tools and equipment you have available to you. We’ll be making this milk pecan praline in the stone grinder for a silky smooth finish. If you don’t have a grinder, you can use your food processor as pecans are so soft. We want the pecans to have a deep roast, without crossing over into burning them, and balancing that out with the right sweetness and aromas.
Texture When composing a new bonbon, I always consider the various textures in the bite. This one needed a crunch element as the caramel is gooey, the praline is creamy and smooth…. so a roasted pecan in the back was the best way to go. It really brings this bonbon to life. The first bite lets you know that pecan is the star of the show, and then each other flavour component unfolds beautifully into that space.
Pineapple Black Sesame Bonbon
Pineapple Caramel If you took my recent All Natural, Plant Based & Refined Sugar Free Caramels class, you’ll know I have started working on fruit caramels. This is the first successful one I have made and it’s slammin! The texture is gooey, the flavour is bold and the colour is gorgeous!
Black Sesame Milk Chocolate Praline I wanted to pair the caramel with something that wasn’t too sweet, as the caramel is obviously very sweet, and something creamy to accompany the intensity of the caramel. After tinkering with the ratios, this praline goes very nicely with the caramel. The flavours pair together wonderfully.
Orange Creamsicle Bonbon
Orange Caramel Fruit caramels are a great way to get the freshness of fruit into a bonbon while maintaining a long shelf life. This caramel is made using fresh orange juice, so it’s like biting into an orange! You can choose from a variety of sweeteners and creams for this caramel, and we’ll cover those details in the class.
Vanilla Bean Ganache I tested many different accompaniments for the caramel in this bonbon and a classic vanilla bean ganache took the win. The two go together perfectly and have a very clean finish in the mouth. For me, it tastes like an Orange Creamsicle from my childhood, but with a delightful dark chocolate element added in.
Strawberry Shortcake Bonbon
Strawberry Jam This bonbon needed a punch of fresh strawberry and, while the ganache has a beautiful, creamy strawberry element, I felt it lacked a fresh, dense strawberry vibe. This gel really completes it and cleans the palette with each nibble.
Strawberry White Chocolate Ganache If you have been a student of mine for a while, you’ll know that I don’t get down with fruit ganaches, but, my students wanted to learn them, so I jumped on board. After much trial and error, I found a great recipe that’s reliable, easy and allows the fruit flavour to shine through.
Oat Vanilla Shortcake This is quickly becoming one of my most favourite new elements to play with in desserts and now in my bonbons. I love this recipe for it’s versatility and banging flavour! It gives this bonbon exactly what it needs; a delicious cakey layer!